As part of managing a Task, there may be a need to suspend it due to a variety of reasons, one of which could be that the task is no longer being performed.
- From the Icon Bar click Setup
 .
. - From the Navigation Menu click Work to expand the corresponding menu.
- From the Work menu items, click Tasks.
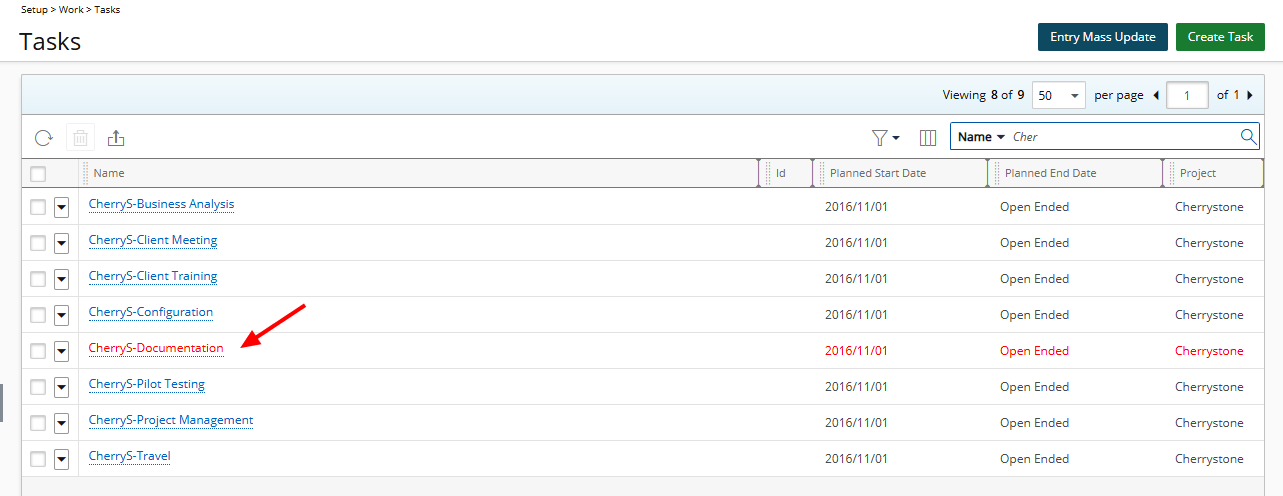
- From the Tasks list that displays, click the Name of the task you wish to access.
Tip: You may wish to narrow your Tasks list so that you retrieve just the right amount of information you need. To do so you can perform a search. Select either Name, Id, Project or Work Type from the available search criteria and then enter a corresponding value in the Search box. Click the search icon to narrow down the Tasks list. For more information on the contains-in logic search click here.
- Upon the Task Edit page displaying, choose Suspended from the Status dropdown.
- Click Save to apply your changes.
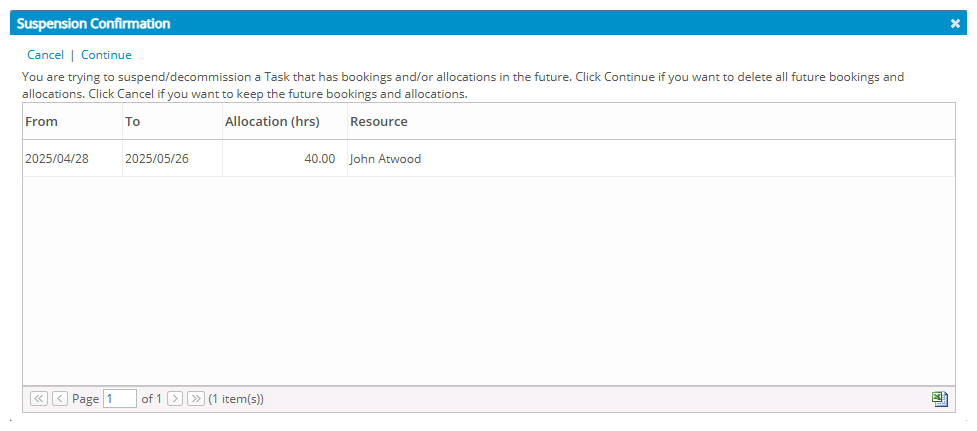
- When suspending a task that has bookings and/or allocations past the current date, the Suspension Confirmation dialog box displays. Click either the:
- Continue link to delete all future bookings and allocations
Or the - Cancel link to keep the existing bookings and allocations intact, and still proceed to suspend the Task.
- Continue link to delete all future bookings and allocations
- Click Back to return to the previous page.
- Upon the Tasks list loading, view the task you just suspended now displaying in red font.
-
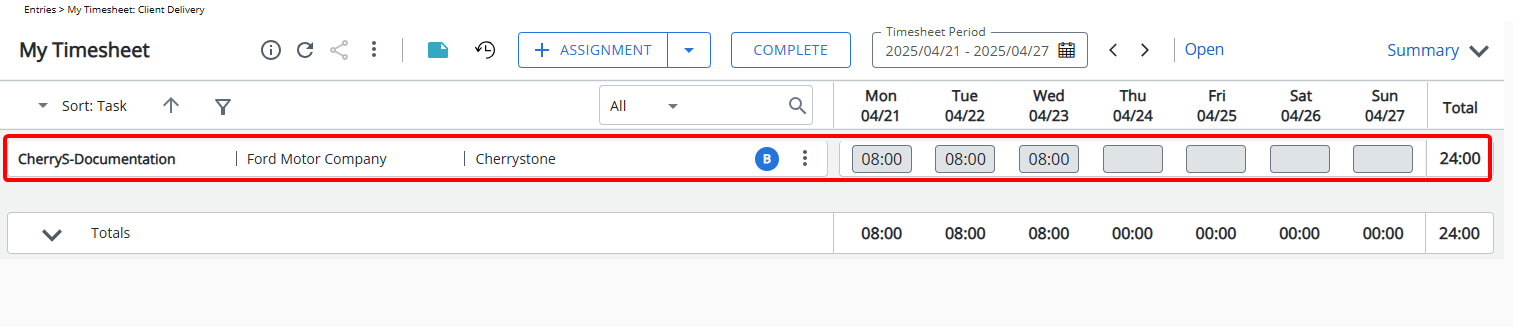
If a user has previously entered time against a task that is later suspended, the time entry cells for that task will be greyed out and read-only. This means users will not be able to modify existing entries or add new time against the suspended task. To restore full access, the task must be set back to Active.