Qvidian for Microsoft Office
With this integration, users can access the power of their Qvidian library directly within Word documents, Excel spreadsheets, and PowerPoint slides. Using simple, streamlined controls, users can search for and add answers to RFPs and questionnaires and automatically insert the best answers to blocks of questions in bulk. Via Office for the Web, users can also work collaboratively in real-time. This integration is designed to complement (not replace) existing Qvidian functionality and was created with RFP writers in mind.
Note: Qvidian for Microsoft Office only supports Microsoft 365 and Microsoft Word, PowerPoint, and Excel versions 2019 and up.
Caution: You may continue to use Qvidian’s legacy (Office) add-ins. For now, the legacy add-ins and Qvidian for Office will both exist in parallel and will not impact each other. If you no longer need Qvidian's legacy add-ins, but still have them installed, please consider removing the add-ins to help improve Office performance.
Qvidian for Office is designed to complement existing Qvidian functionality. This integration is most suitable for fully-licensed Qvidian users. The following table explains potential circumstances and organizations that this integration would be ideal for.
| Ideal for... | Supported/Compatible? |
|---|---|
| Use with Microsoft Office for the Web or Microsoft Office 2021 | Compatible with Office for the Web and Office 2021 (desktop) |
| Enabling all participants to view and edit the complete response | Support slices, assignments, and workflows |
| Organizations that store their RFPs and other files on SharePoint, OneDrive, Teams, or Box | Ability to create assignments in Microsoft Word and Excel files that aren't housed in a Qvidian Project |
| Working with complex Excel-based RFPs or questionnaires | All Excel functionality is supported; users work directly in Excel |
Users can create assignments in Microsoft Word and Excel files that aren't housed in a Qvidian Project. This allows teams to benefit from assignments by tracking progress, collaborating, and communicating more effectively in Qvidian for Office.
Users store their RFPs and other files on SharePoint, OneDrive, Teams, or Box to allow co-authoring and team editing in locally installed Office. Now, these users can create assignments using Qvidian for Office in those files.
This integration is compatible with Office for the Web and Office 2021 (desktop). Depending on your organization, you may choose to use either Office for the Web or Office 2021.
| Version | Description | Logging In? |
|---|---|---|
| Office for the Web | All participants can view and edit the entire response and collaborate in real-time. For teams that already know what sections to work on, this saves proposal managers the time of assigning questions. As teams work, reviewers can provide simultaneous feedback. | After each user logs-in to Qvidian, all Project participants will be able to view and edit the entire response in real-time in Office for the Web. When the questionnaire response is complete, the proposal manager can finish any remaining parts of the Project, and then build the full response package as normal. |
| Office 2021 | For teams that do not need to collaborate, this enables one user at a time to leverage the full power of Office to view and edit the entire response. When finished, the user can then send the response to another user or to the proposal manager for final approval. | After logging-in to Qvidian, one Project participant can work on a response at a time. Once checked back in, the response is available for another participant to edit. When the questionnaire response is complete, the proposal manager can finish any remaining parts of the Project, and then build the full response package as normal. |
Installing Qvidian for Office
There are several methods for installing Qvidian for Microsoft Office:
- If one of the following scenarios applies to you, please install the Qvidian for Microsoft Office (US) application:
- You are located in the US.
- You are located in the EU, but your Qvidian instance is located on a US server.
- If one of the following scenarios applies to you, please install the Qvidian for Microsoft Office (EU) application:
- You are located in the EU.
- You are NOT located in the EU, but your Qvidian instance is located on an EU server.
- If you are unable to access the Microsoft AppSource, please contact your Microsoft 365 Administrator.
Note: Your Microsoft 365 Administrator will need to install either the Qvidian for Microsoft Office US or EU application depending on where your company's Qvidian instance is located. Once installed, your administrator will need to use centralized loading to deploy Qvidian for Microsoft Office to all client machines. For more information on centralized deployment, please see Publish Office Add-ins using Centralized Deployment via the Microsoft 365 admin center and/or contact Qvidian support.
Accessing Qvidian for Office
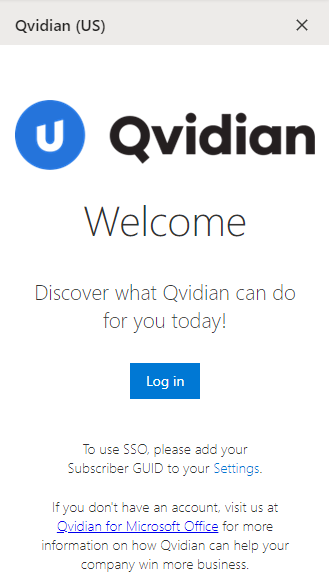
- After installation, click the Show Qvidian button on the Home menu. The "Upland Qvidian Welcome" sidebar will appear.
- Click Log in on the "Upland Qvidian Welcome" sidebar. The "Upland Qvidian Log In" dialog appears.
- Enter your Upland Qvidian User Name and Password and click Log In.
Note: The following application permissions must be enabled for Qvidian for Office to work: "Allow user to log into Qvidian for Microsoft Office” and "Allow user to load unsliced RFP files to a project”.
Downloading Previous Versions of Questionnaires
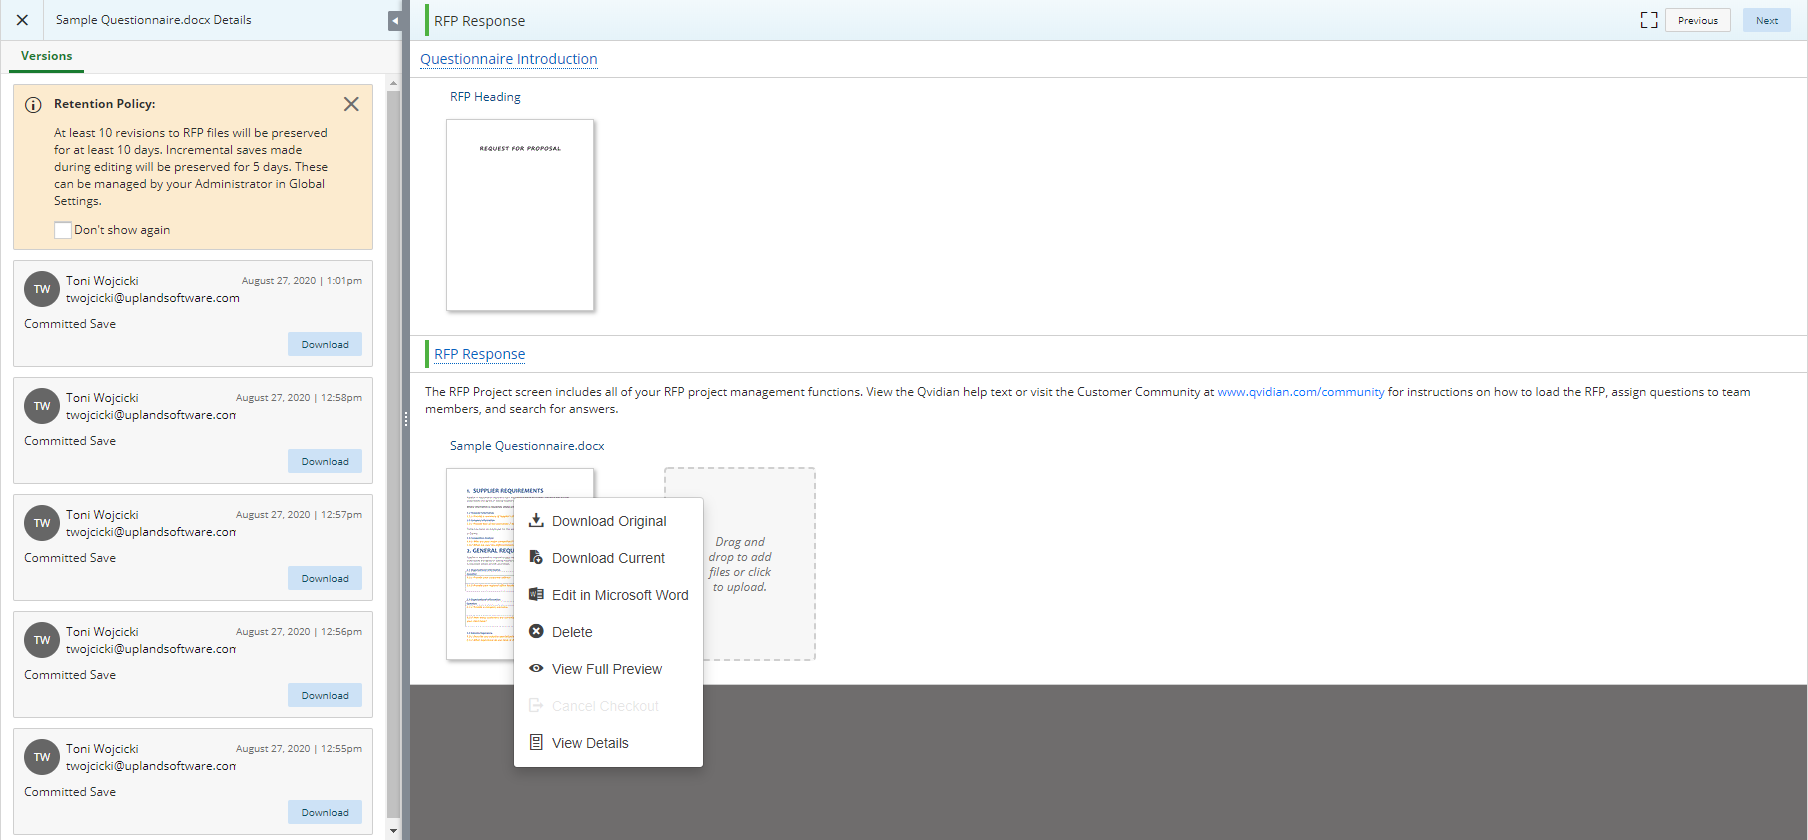
While teams work on responses, Qvidian will retain a defined number of past questionnaire versions automatically, to simplify referencing and restoring to previous versions as needed. Office for the Web will automatically create “Incremental Saves” periodically in addition to every time you click the “save” button. A “Committed Save” is captured every time you end an editing session by closing the Office for the Web file in your browser or checking the Microsoft Office 2021 questionnaire response back into Qvidian.
Note: Previous versions of questionnaires can only be downloaded when the questionnaires are part of a Qvidian Project.
- To download previous versions of questionnaires, access your Project RFP in your Qvidian instance.
- Right-click on your questionnaire.
- Select View Details. The "Versions" tab will appear in the left panel.
- Click Download on the desired previous version of the questionnaire.
Note: In Global settings, Qvidian admins can adjust the number of incremental changes Qvidian will save (RFPIncrementals_KeepForAtLeastNDays), as well as the number of revisions Qvidian will save (RFPRevisions_KeepAtLeastNRevisions) and how many days Qvidian will retain those saved past versions (RFPRevisions_KeepForAtLeastNDays).
Updating Qvidian for Office Settings
- Click the Menu
 icon.
icon. - Select Settings from the dropdown menu.
- Specify your Subscriber GUID if you are using SSO. For users who install Qvidian for Office through their corporate portal (i.e., organizations using a centralized deployment of Qvidian for Office), admins can define a default subscriber ID for all users. Your Subscriber ID, which is entered into your Subscriber GUID field, can be found in the "About" area within the header of the Qvidian interface.
- Select the Turn on debugging mode checkbox to enable the debugging window. This setting is only used when you need to provide customer support with more information regarding an issue that you are experiencing.
- Select the Disable SSO authentication checkbox to turn off SSO and use an explicit login.
- Click Save.
Note: Qvidian will still remember your Subscriber ID even if you disable SSO functionality. This allows you to re-enable SSO at a later time without looking up and re-entering your Subscriber ID.
SSO customers can modify their XML in order to use central loading.
- Click the Profile menu
 icon (your first and last initial in a white circle) found in the header.
 - Select About from the Profile menu. The "About" dialog will display.
- Copy your Subscriber ID.
- Open the
Qvidian-US.xmlorQvidian-EU.xml, depending on your Qvidian subscriber server location, with Notepad. - In Notepad, use CTRL+F to search:
Upland.QLaunch.URLin the XML file. - Move your cursor to the end of the
Upland.QLaunch.URLbetween theEnvironmentdefinition and the quotation"mark. - Append the
Environment=USorEnvironment=EUdefinition with&SubscriberID=and paste the Subscriber ID that was copied in the About dialog. - Save the XML file and give it to your organization's Microsoft Office 365 administrator so they can upload the file for deployment.
Example: In the image below the server is located in the US, so the XML reads: Environment=US .

Example: The image below is an example of the appended XML code format.

Logging out of Qvidian for Office
- Click the Menu icon.
- Select Logout from the dropdown menu.