The Users list context menu provides quick access to essential tools for managing your team’s workload and skills efficiently. From here, you can assign Tasks, access a User’s Timesheet or Work Plan, and view or manage their Skill Associations.
This article guides you through the steps to assign Tasks directly from the Users list context menu, helping you quickly distribute work and keep your projects organized and your team aligned.
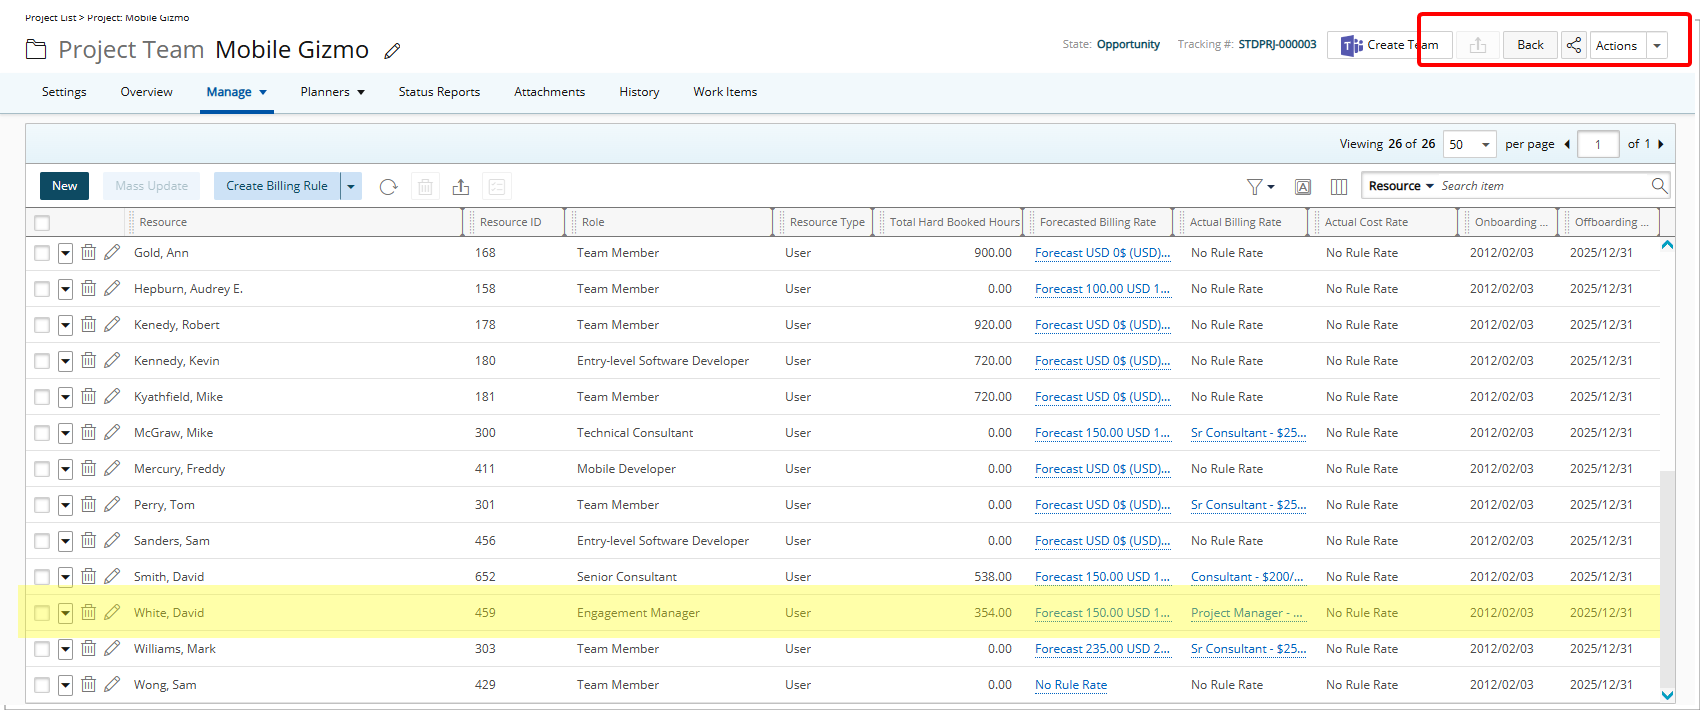
- From the Icon Bar click Setup
 .
. - From the Navigation Menu click Organization.
- From the available options select Users.
- Click the context menu
 button next to the User’s name.
 - Click Assign.
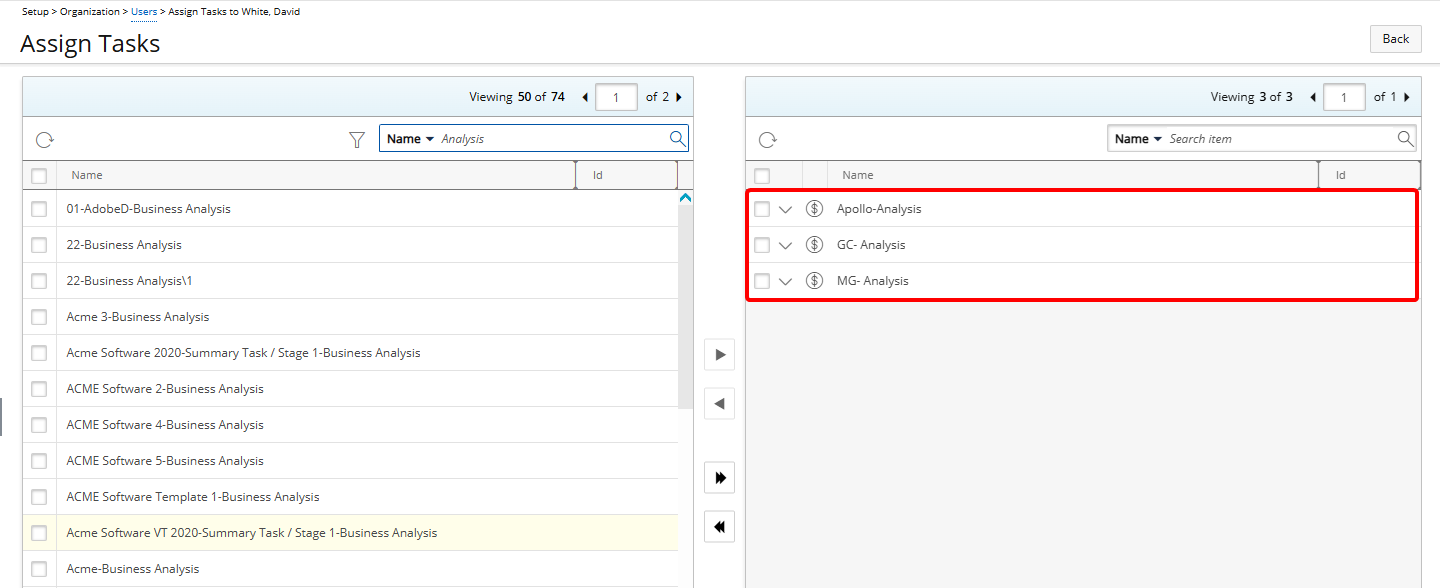
- Select the required Task(s) from the left table.
- Optional: You can narrow the list by doing either of the following:
- Applying a Filter
 to the available tasks list.
 - Using Search
 to locate a Task by Name, Id, Client, Project or Work Type.
- Applying a Filter
- Click the Add
 button to assign the selected Task(s) to the User.
 - The assigned Tasks will appear in the table within the right panel.
- From here you can:
- Click the down arrow to expand the row, where you can:
- Modify the Start or End Dates of the task assignment.
- Mark the task assignment as Completed.
- Enter a Description.
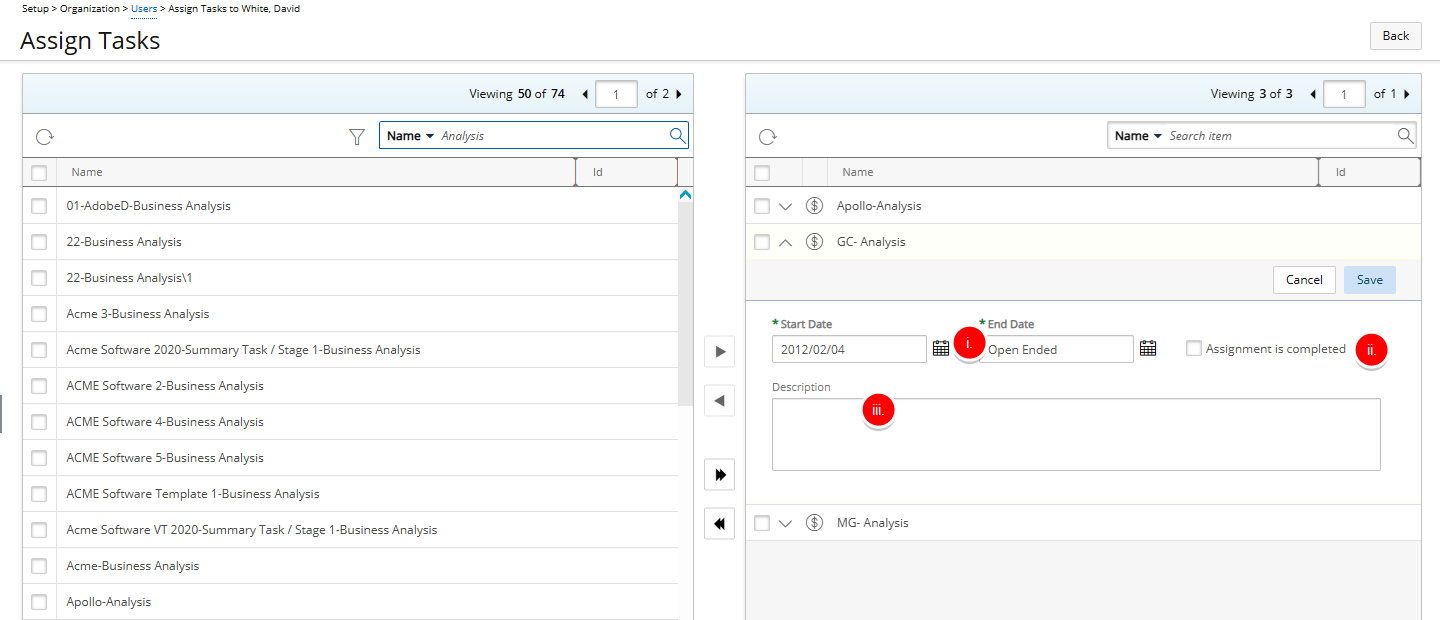
- Click the Task Assignment Budget button to manage the budget.
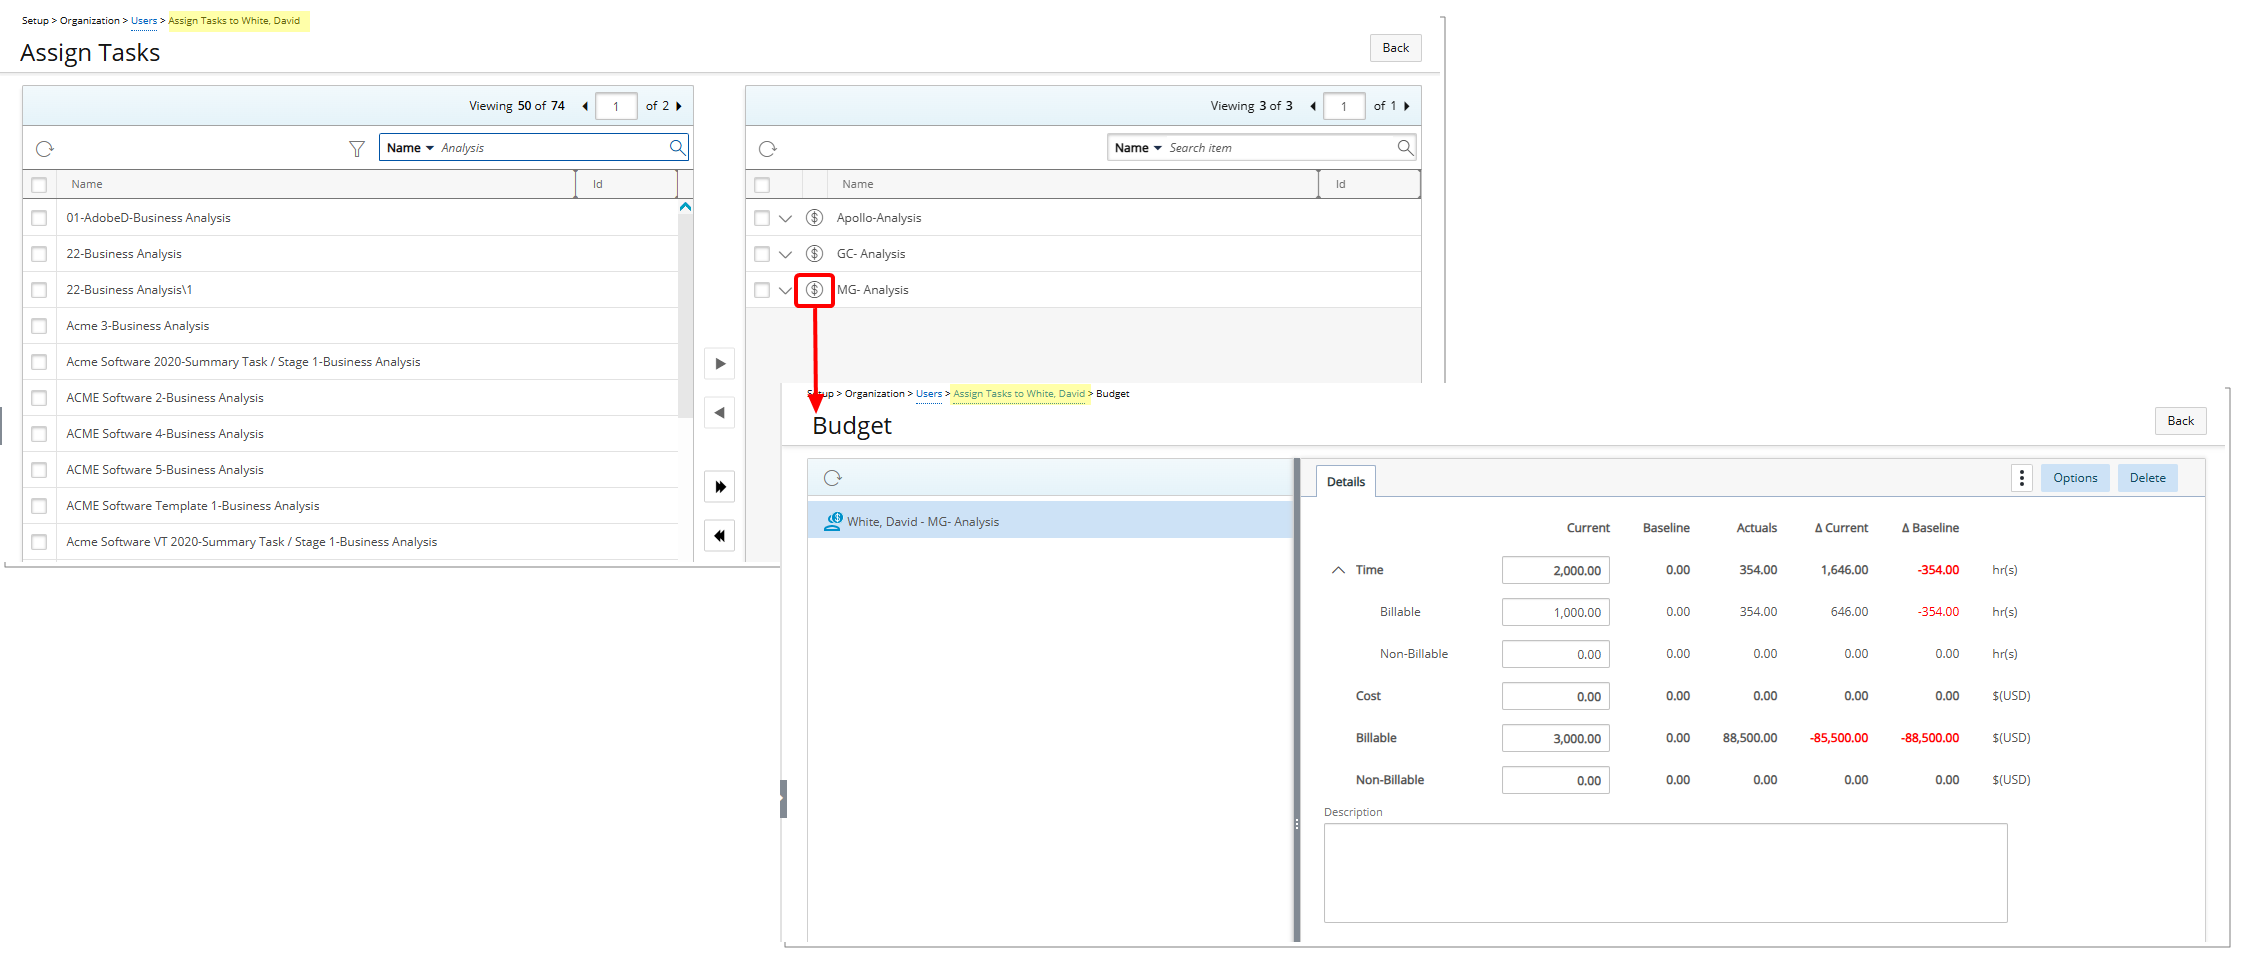
Note: When assigning a Task from the Users list context menu, the breadcrumb trail displays the Username—helping you confirm which User you're assigning work to.
- Click the down arrow to expand the row, where you can:
Understanding the Impact of Task Assignment
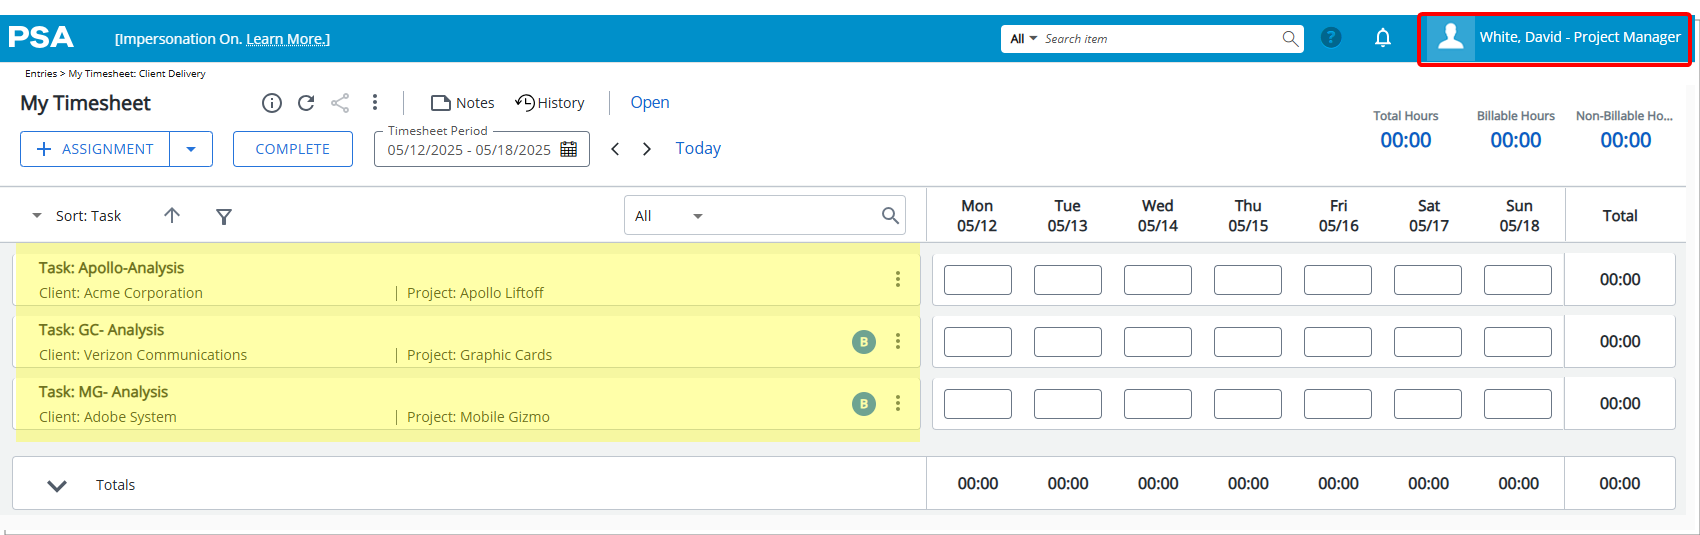
- A user assigned these tasks will see them in their Timesheet for the duration of the Task Assignment Start and End Dates.
- The assigned user is added to the Project Team of the Task’s Project.