Automation processes are events that can be scheduled to run at predetermined times. The events are able to perform many different actions such as start documents into a workflow process, run and send report results, automatically index documents, or OCR documents that are in the system.
For on-premise customers, automation processes are initiated by Enterprise Service Management. When a process is created, when and how often it should occur is configured. Enterprise Service Management monitors the FileBound site and determines when it is time for a process to run. The service will then kick-off the process. See Enterprise Service Management for more information.
FileBound automation processes are intended to help with the routine daily activities that occur in FileBound. For example, the Folder Import and Auto-Index processes can be helpful in indexing the 50 invoices a day that a user may scan into the system using a multi-function copier. The processes will import the invoices and then use templates to index and save the invoices.
Automation processes are not intended for the initial document and file ingestion from a backlog of content or conversion from another system that could present the need of importing and indexing hundreds of thousands of items at a single time.
Automation Processes are best used when processing the daily needs of a business that does not have extremely high volumes of content that is processed during a day. Each process has its own unique parameters that it works best within. These are parameters are listed for each of the different processes within this document.
To manage automation processes, in the Navigation Menu, click Administration, then click Automation, then click Processes.
Topics include:
Add an automation process
-
Click Add.

-
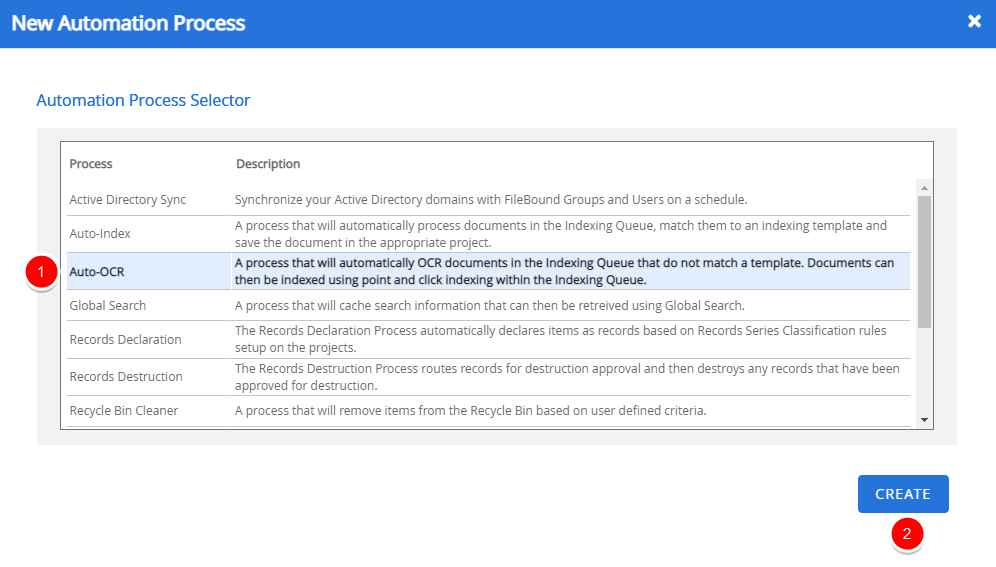
Select an automation process from the list of process types, then click Create.

The following automation processes are available in FileBound.
Process Type Description Active Directory Sync Synchronizes the groups and users from the active directory domains with the FileBound groups and users on a schedule. Auto-Index Automatically processes documents within the Indexing Queue. The documents are matched with an indexing template and then saved within the relevant project. Auto-OCR Automatically processes documents within the Indexing Queue that do not match a template. The documents can be indexed using the point and click indexing method later on. Global Search Creates a cache of search information that can be retrieved using global search. Records Declaration Used to find documents based on the specified criteria and declare them as records. Records Destruction Used to take action on the documents that are declared as records. Recycle Bin Cleaner Removes files and documents permanently from the recycle bin, based on automation parameters set. Renditions Creates document renditions of .pdf, .doc, .docx, .xls, and .xlsx document file types. Scheduled Report Runs automatically as scheduled and sends reports as email attachment in PDF or CSV format. Scheduled Workflow Routes the files or documents to a specified workflow process in a project. Workflow Summary Emails Sends summary emails to users that have active workflow assignments.
Edit an automation process
-
Click Design next to the automation process you want to edit.

Configure stencils
-
To access stencil properties, in the Diagram pane of the Workflow Designer, perform one of the following:
- Double-click the stencil.
- Right-click the stencil and select Properties.
- Select the stencil and press the F4 keyboard shortcut.
-
Edit stencil properties, then click OK.
-
Click Save.
Print process diagram
-
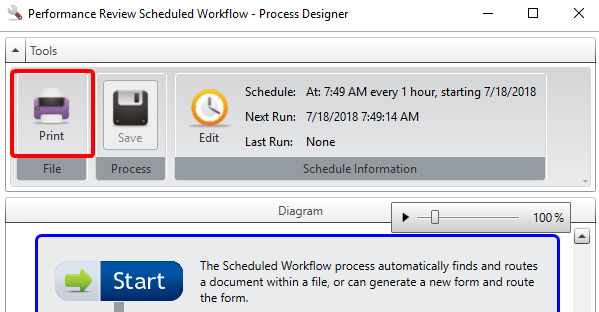
Click Print to print the process diagram.

Open the Automation Process Setup dialog box
-
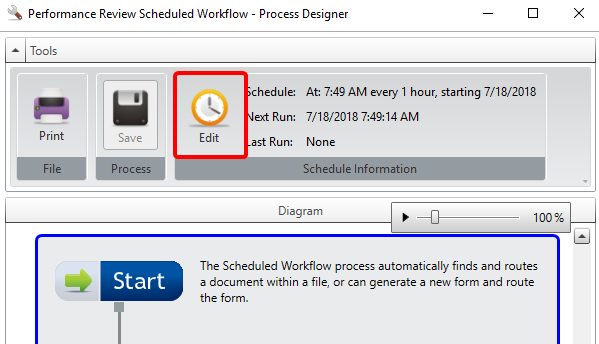
Click Edit to open the Automation Process Setup dialog box for editing. See Automation Process Setup for more information.

Delete an automation process
When you delete an automation process, all activities related to the process are terminated and the process is deleted permanently.
-
Click Delete next to the automation process you want to delete.

- Click Delete to confirm the deletion.
Delete multiple automation processes
-
Click Delete.

-
Select the check box next to the automation process(es) you want to delete, then click Delete.

- Click Delete to confirm the deletion.