This article details how to associate a specific contact to whom the client invoice is to be addressed.
- From the Icon Bar click Setup
 .
. - From the Navigation Menu click Work to expand the corresponding menu.
- From the Work menu items, click Clients.
- From the Clients list, select the appropriate client.
- From the Settings tab of the Client Edit page, expand the Financial navigation menu
- Click Invoice Options.
- From the General sub-tab scroll to the Billing Address section.
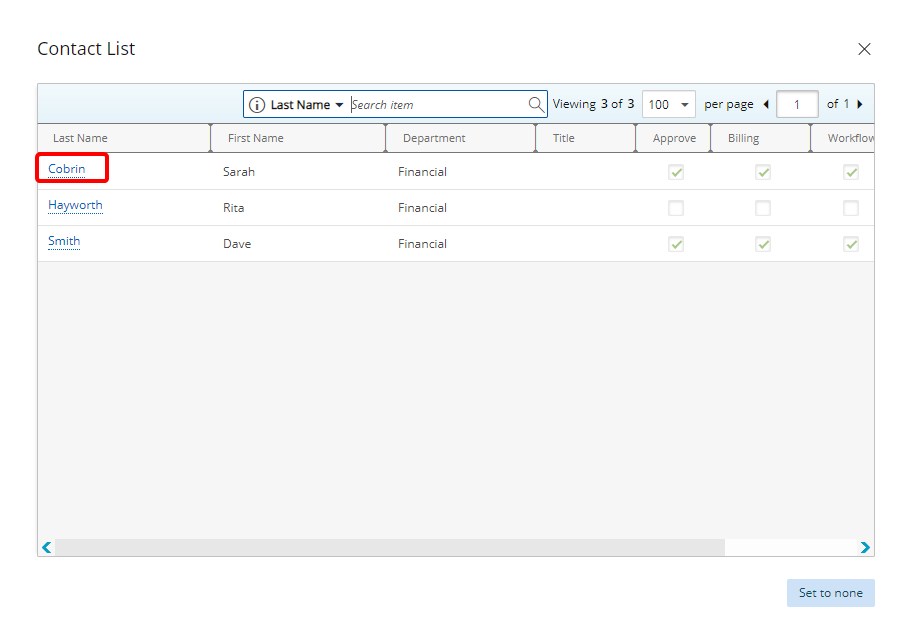
- Click the To the attention of ellipsis to access the Contact List page.
-
Select the appropriate contact name from the Contact List dialog box.
- Upon having selected the contact, view the corresponding contact information that has automatically filled under the Billing Address section.

- Click Save and then Back to save your changes and return to the previous page.