This article covers the associating of a PO amount to a Project..
- From the Icon Bar click Setup
 .
. - From the Navigation Menu click Work to expand the corresponding menu.
- From the Work menu items, click Clients.
- From the Clients List page select the Client name to access the Client Edit page.
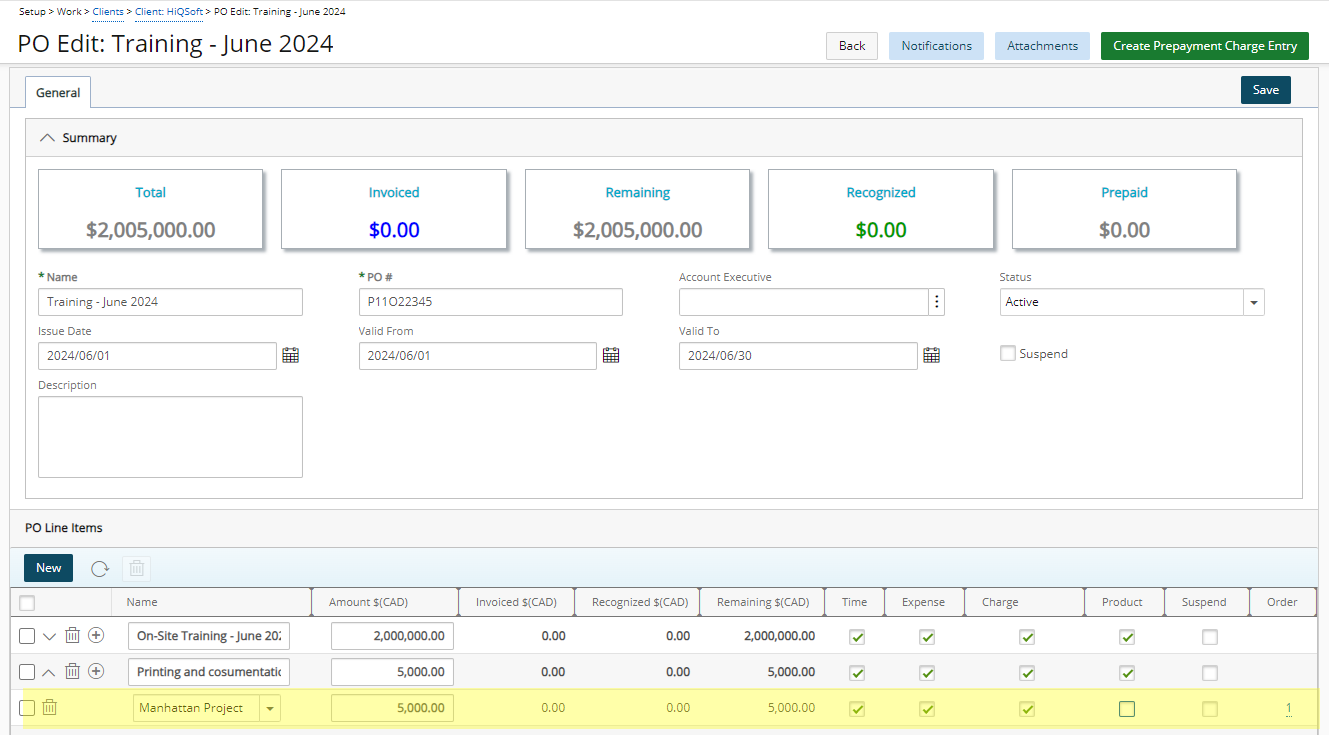
- Upon the Client Edit page displaying, click the POs tab.
- Click a PO that requires editing.
- Click the Add
 button corresponding to PO line item.

-
Select and enter the information
- Click the Project box to select a project and associate it the given PO line item.
- If required, enter the Amount for the corresponding indented row. Click here to view the article on the mandatory field definitions to associate a PO amount to a Project.
- Select the invoiced entry type(s) the PO can be Used by:
- Time
- Expense
- Charge
- Product

- View the saved Project association.