The Exempt List, accessible from the Tools context menu on the Timesheet Templates list page, allows you to exempt Users—or those associated with a specific Group, Resource Type, Security Profile, Site, or Title—from entering time during a defined period. This article outlines the steps to assign an individual User to the Exempt Timesheet Template.
Note: You cannot assign more than one template to the same object type at a given time. If there are overlapping dates, priority is applied to determine which template is used.
The Timesheet Template and Timesheet Exempt Template assignment precedence (from highest to lowest) is:
- User
- Security Profile
- Group
- Resource Type
- Title
- Site
- Default Template
Example: Alyssa belonging to Edutraining Group is assigned to a regular Timesheet Template for a given Period. Edutraining Group is assigned to the Exempt Template for the same Period. In this case Alyssa will not be exempt for that Period as the User object has higher precedence over the Group.
This article details how to assign a User to the Exempt Timesheet Template to exempt them from time entry requirements during a specified period. The same steps also apply when assigning a Group, Resource Type, Security Profile, Site, or Title to the Exempt Timesheet Template.
- From the Icon Bar click Setup
 .
. - From the Navigation Menu click Timesheet.
- From the available options select Timesheet Templates.
- View the Timesheet Templates page that lists existing templates, from where they can be managed, and where you can create new ones.
- Click the Tools
 button to access the context menu.
 - Select the Exempt List option to access the Exempt Timesheet Template page.
- Click
 New to access the Add Template Assignment dialog box.
 - Select the following required information:
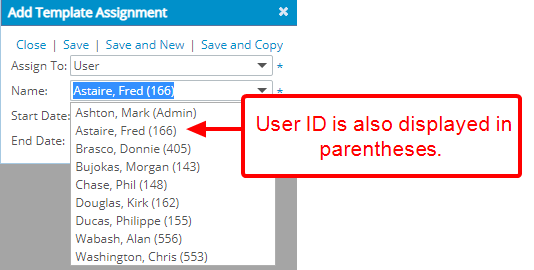
- Click the Assign To box and select from the following available options: Group, Resource Type, Security Profile, Site, Title or User.
- Click the Name box and select the name of the User you wish to associate to the Exempt list.
- Select a Start Date by clicking the date picker.
- Select an End Date by clicking the date picker.
-
Select one of the following options to save your changes
- Upon clicking Save your changes will be saved and the Add Template Assignment dialog box will be automatically closed. The Exempt Timesheet Template page will be refreshed and you will see your newly added Assignment.
- Upon clicking Save and New, your changes will be saved. The Add Template Assignment dialog box will remain open allowing you to create a new Assignment.
- Upon clicking Save and Copy , your changes will be saved. The Add Template Assignment dialog box will remain open where the Assign To box, Start Date and End Dates will be copied from the previously added Assignment. Note that the Name box will be empty, allowing you to choose a new name.
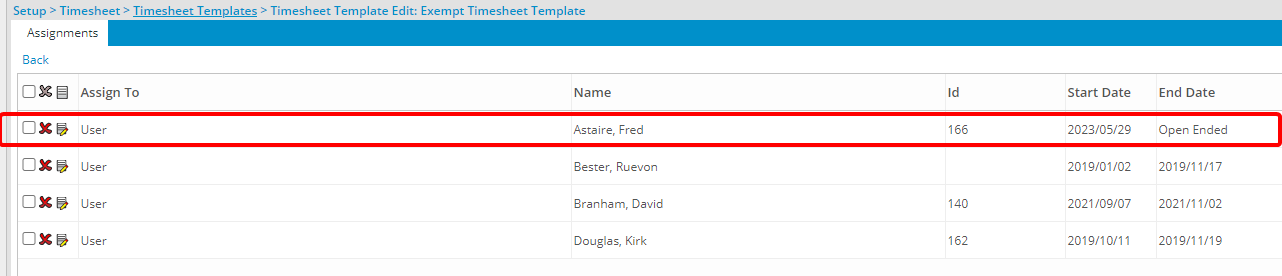
- View your newly added assignment within the Exempt Timesheet Template list page.
Impact of Your Change
View the impact of your change for the Period of No service (01/01/2018 to 30/11/2019):
- Upon trying to access their Timesheet, the User assigned to the Exempt Timesheet Template will be presented with a warning message: Warning! No Timesheet exists for this period.
- This will address the unnecessary need to complete Timesheets and the corresponding Notifications that initialize for this period.