Upon navigating to the States tab, you must first click on a State to access the Details, Notifications and Format sub-tabs located within the right-hand pane. From these sub-tabs you can edit the State properties.
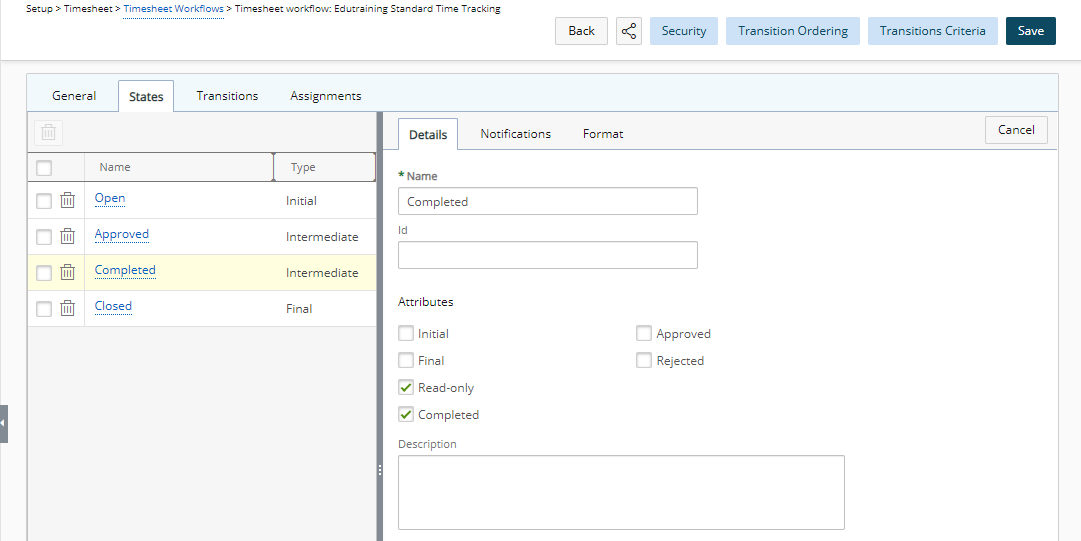
Within the Workflow State Edit General tab, you can define the name, IDs and the Attributes for the workflow states
- Name: State Name
- Id: State ID
- State Attributes: Set the workflow State Attributes by selecting the appropriate boxes from the available options. Note: Depending on the Workflow type, the State Attribute options available to you will differ. For information on the available State Attributes for each Workflow type, refer to the Workflow State Attributes section of Workflow State and Transition Properties article.
- Description: Enter any relevant details about the state in the Description box.
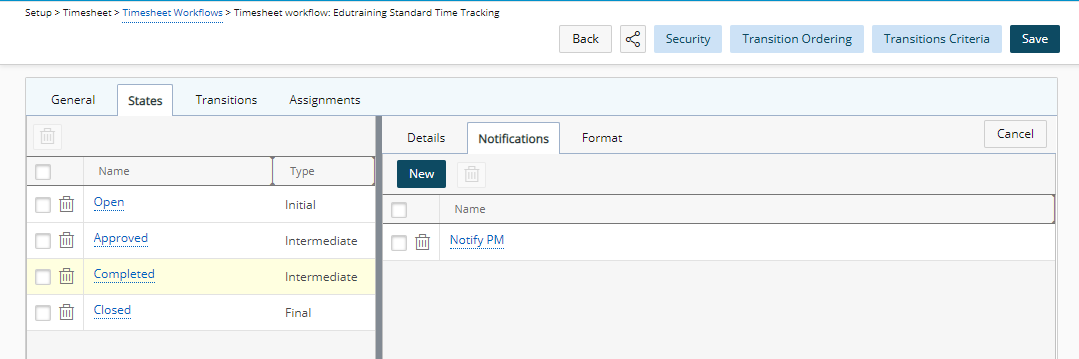
Within the Notifications tab you can setup Notifications wherein, the system automatically generates and sends notifications to users when a workflow changes states; for example, a creator of a workflow can receive a message confirming that the workflow has been resolved and closed. For further details refer to Setting Up Notifications for the Workflows.
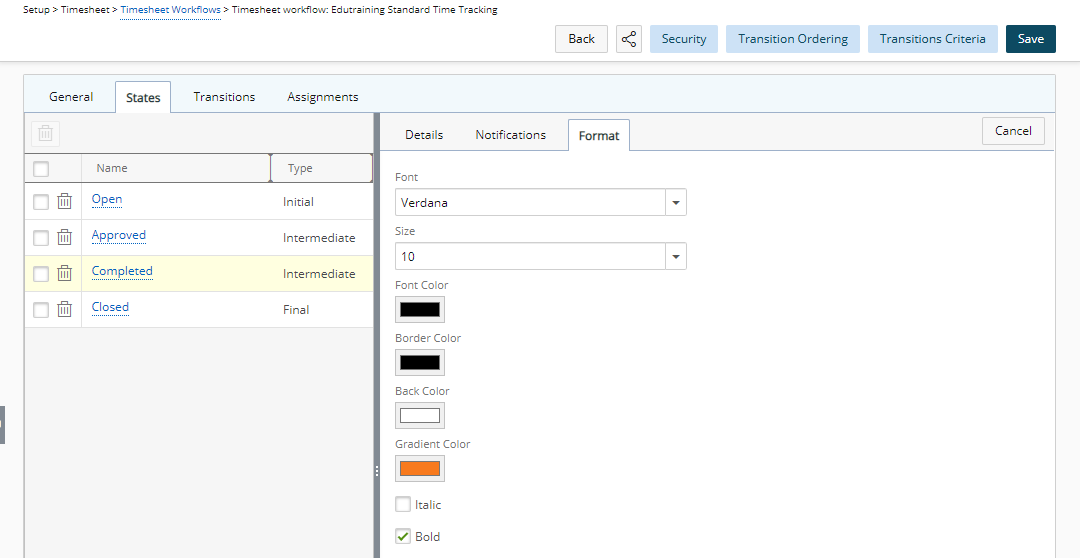
The options within the Format tab, allow you to define and make changes the layout of a particular State. Under this sub-tab you can specify the following formatting for the selected State:
- Font face
- Font Size
- Font Color
- Border Color
- Back Color
- Gradient color
- Italic
- Bold
Example: If you want the text to be Italic or Bold, choose the appropriate selection boxes.