From the Transition Edit dialog box, you can associate Role(s) to a Workflow Transition.
- Select the workflow type: Creating/modifying workflows for all types of work is done in the same way, depending on which type of workflow you are creating. Select the workflow type that will be created by clicking the following: Here is a list of all Workflow Types and how to access them in PSA:
- Expense workflows, click Setup > Expense > Workflows
- Invoice workflows, click Setup > Financial > Workflows
- Leave Request workflows, click Setup > Timesheet > Leave Request Workflows
- Project workflows, click Setup > Work > Project Workflows
- Resource Request workflow, click Setup > Workforce Planning > Resource Request Workflows
- Timesheet workflows, click Setup > Timesheet > Timesheet Workflows
- Work Item workflows, click Setup > Work > Work Item Workflows
- Click an existing workflow Name from the list to access the Workflow Edit page.
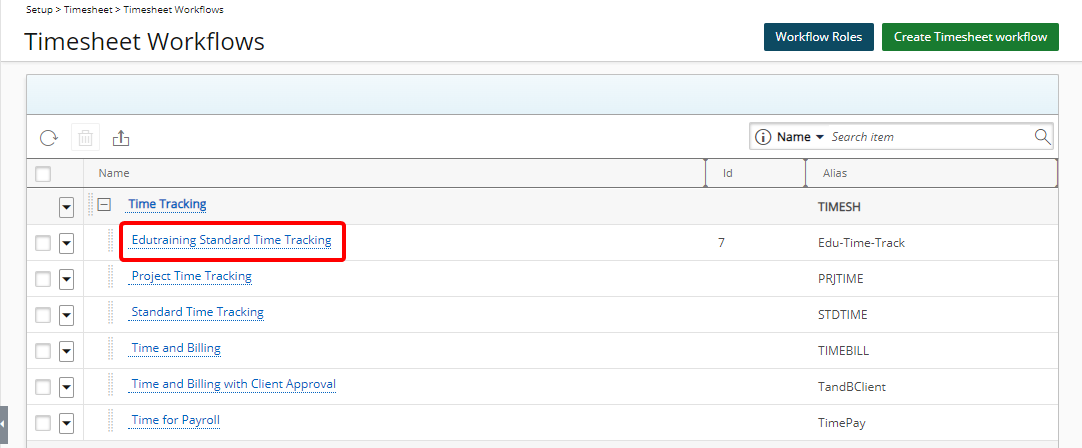
Note: For the purpose of this article we are going to modify a Timesheet Workflow.
- Select a Transition to modify either by:
- Clicking the Transitions tab to display all the Transitions added to the Workflow in the left pane.
- Then click a Transition Name from the left pane to modify it. The right pane will be refreshed to display the Transition edit sub-tabs.
- Double-clicking a Transition name in the design area will open the Transitions tab and the right pane will be refreshed automatically to display the Transition edit sub-tabs.
- Clicking the Transitions tab to display all the Transitions added to the Workflow in the left pane.
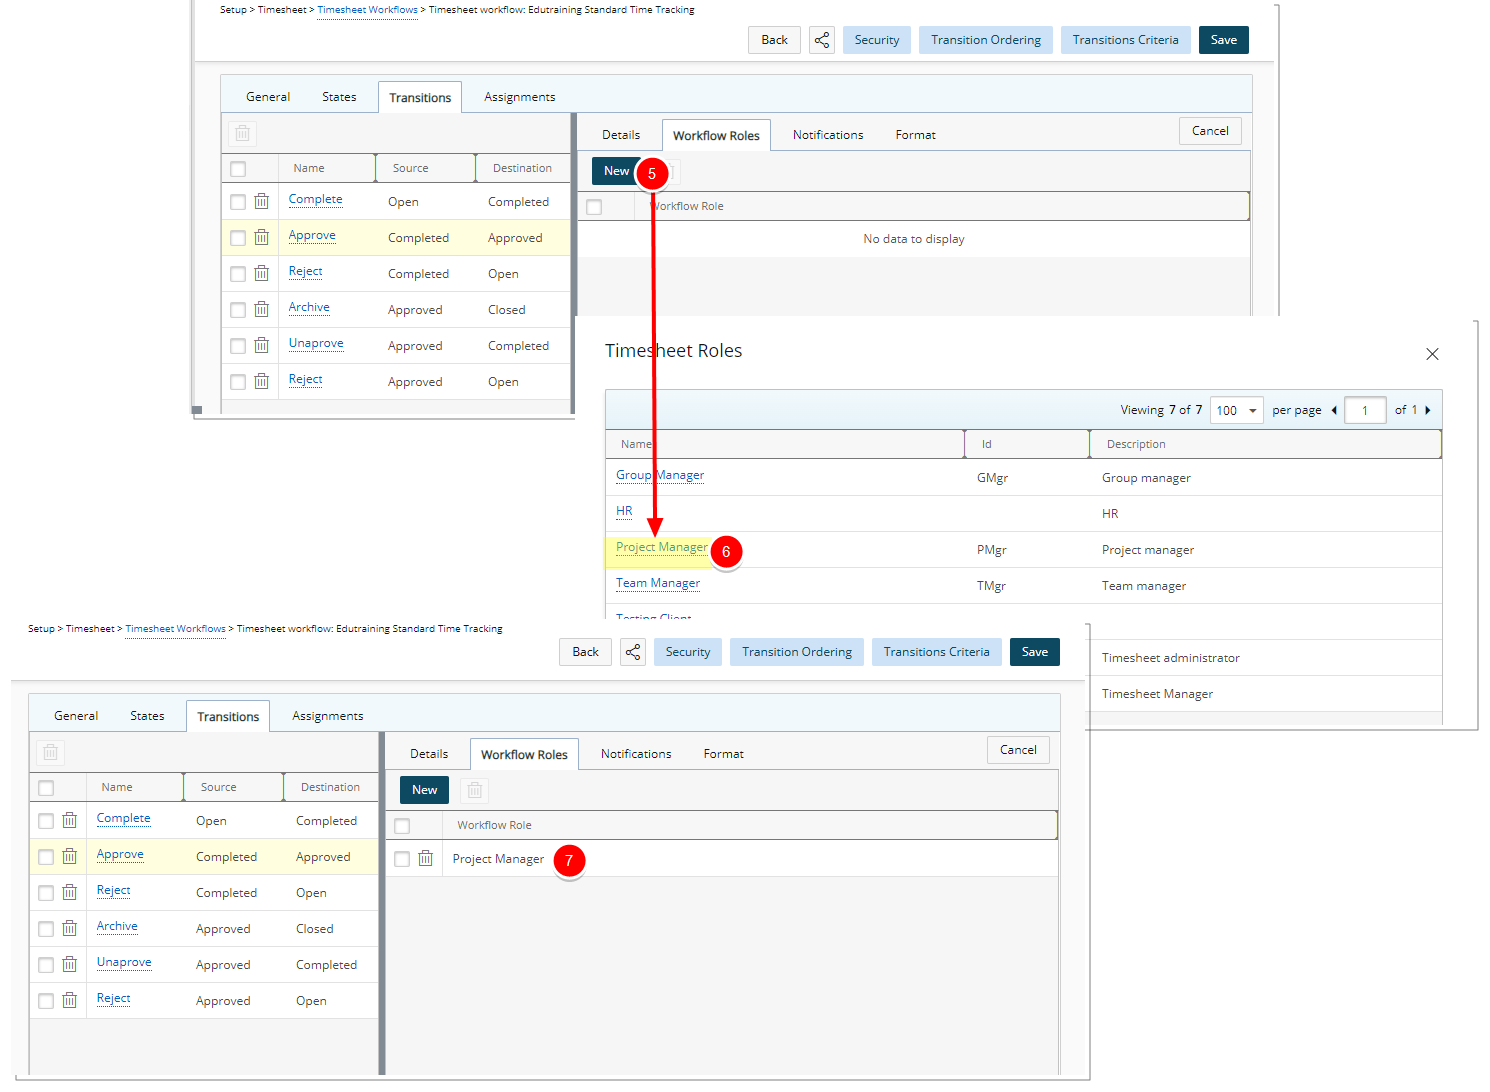
- Navigate to the Workflow Roles sub-tab.
- Click the New button to access the Roles dialog box.
- Click the user Role that will be associated to the Workflow Transition.
- Upon selecting a Role, the Workflow Roles dialog box will close automatically and the selected Role will appear within Workflow Roles sub-tab.
Tip: The associated Role(s) can easily be deleted. Click the Delete icon then click Yes to confirm the deletion or No to cancel the delete action.
- When making modifications in the Workflow Roles sub-tab you can still navigate to other tabs and view your changes on the graphical interface. Click Save only once you are finished with all your modifications.
Tip: Clicking the Cancel button will display the graphical representation of the workflow within the right pane.