Navigate the interface
The following areas make up the Intelligent Capture Interface:
The Header

The Header runs across the top of the page and displays the following items from left to right.
Navigation Menu Icon: Click this icon to expand or collapse the Navigation Menu.
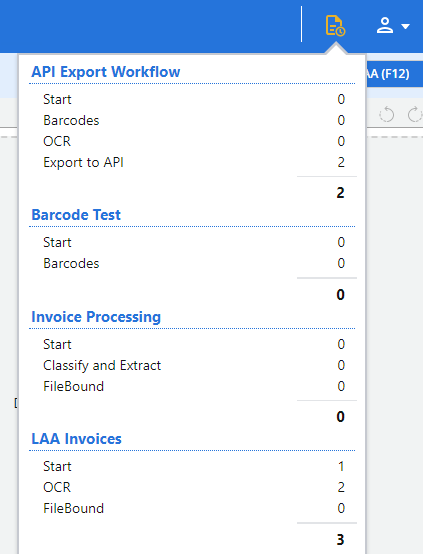
Documents Processing: When documents are in process, a small yellow circle will appear by the Documents Processing icon. Click this icon for a real-time view of the number of documents processing through each step in the workflows that you are assigned to.
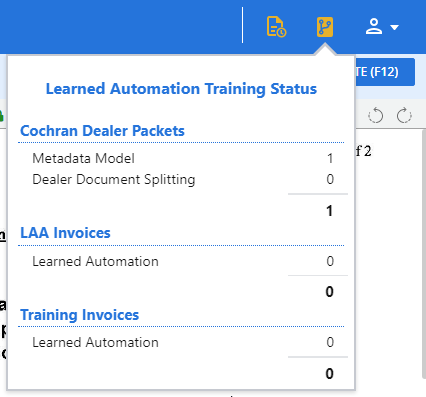
Training Requests Processing: When your workflow contains a learned automation step, this icon will appear in the header when a document leaves the user action step following the learned automation step. This is when training begins. Click this icon for a real-time view of the number of documents training through each learned automation step in the workflows that you are assigned to. The icon will no longer appear once all training has been completed.
Share your Feedback: Did you have a good experience? Do you have a suggestion for improvement? We would love to hear from you! Click here to share your feedback with our team.
What's New: Click here for an overview of what's new in the product.
Profile Menu: Click the icon to access the Profile Menu.
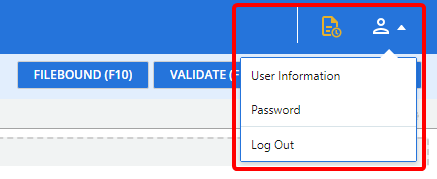
From the Profile Menu you can perform the following:
- Click your name to access the Profile Menu, then select User Information from the drop-down menu.
-
Modify your name and email as needed, then click Save.
Note: Changes to your email address will be reflected in your username when signing in to Intelligent Capture.
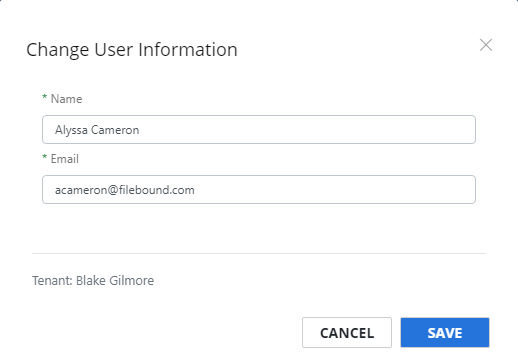
Tip: The Tenant you are on is displayed at the bottom. This is non-editable and can be used for troubleshooting purposes if needed.
This option will not be available if sign sign-on (SSO) is enabled for your tenant.
- Click your name to access the Profile Menu, then select Password from the drop-down menu.
- In the Existing Password box, enter your current password, then enter a new password in both the New Password and Confirm New Password boxes.
-
Click Save.

- Click your name to access the Profile Menu, then select Log Out from the drop-down menu.
The Navigation Menu
The Navigation Menu is located along the left side of the page. The options displayed on the Navigation Menu will vary based on the roles you are assigned to. By default, the Navigation menu is expanded. To collapse the Navigation Menu and increase your working space, click the Collapse Navigation Pane ![]() icon or the Collapse Navigation Pane
icon or the Collapse Navigation Pane ![]() arrow.
arrow.
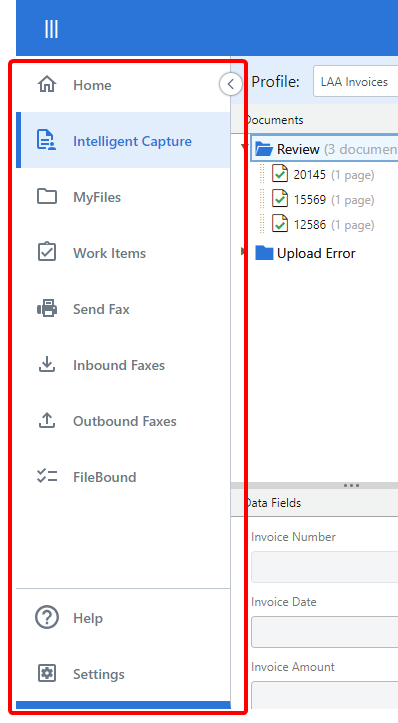
Home: The Home Page is designed to give you fast access to information and often used features in Intelligent Capture via widgets. See Home page for more information. Only users that have been assigned to a role with the Manage Home Page Tabs permission will have this option on the Navigation Menu.
Intelligent Capture: This is where all document related functions happen.
MyFiles: MyFiles is your own personal place where you can scan and import documents into Intelligent Capture without sending them to a specific workflow. See MyFiles for more information. Only users that are assigned to a role with the Manage MyFiles permission will have this option on the Navigation Menu.
Work Items: Work Items allows you to view all history for work items that have traveled through workflows in Intelligent Capture. See Work Items for more information. Only users that are assigned to a role with the Manage Work Items permission will have this option on the Navigation Menu.
Send Fax: Send Fax allows you to quickly attach a document and send a fax directly from Intelligent Capture. See Send Fax for more information. This option will only be available in the Navigation Menu if the CloudFAX integration has been enabled for your account and you are assigned to a role that has permission to the integration. See Integrated applications for more information.
Inbound Faxes: Inbound Faxes allows you to view faxes, both sent and received, directly from Intelligent Capture. See CloudFAX for more information. This option will only be available in the Navigation Menu if the if the CloudFAX integration has been enabled for your account and you are assigned to a role that has permission to the integration. See Integrated applications for more information.
FileBound: FileBound allows you to view and open your current assignments directly from Intelligent Capture. See FileBound for more information. This option will only be available in the Navigation Menu if the FileBound integration has been enabled for your account and you are assigned to a role that has permission to the integration. See Integrated applications for more information.
Help: Allows you to quickly access the Online Help.
Settings: The Data Dictionary, workflows, users, roles, integrated application, and importers are all configured under Settings. Only users that have been assigned to roles with the appropriate rights will be able to access the options under the Settings menu.
Toolbar

The Toolbar is the bar right under the header and displays the following items from left to right.
Profile: The Profile drop-down menu contains a list of all workflow processes that you are assigned to. Once scanned or imported into Intelligent Capture, documents will follow the selected workflow.
Scan: Any user that is assigned to a role with the Capture Documents permission can scan documents into Intelligent Capture. See Scan documents.
Import: Any user that is assigned to a role with the Capture Documents permission can import documents into Intelligent Capture. See Import documents.
Capture: Any user that is assigned to a role with the Capture Documents permission can use their webcam to get documents into Intelligent Capture. See Capture documents.
Generate QR Code for mobile scanning: Any user that is assigned to a role with the Capture Documents permission can generate a QR code and scan it with their mobile device in order to quickly access the mobile application for document scanning. See Generate a QR code for mobile scanning for more information.
Download Workflow Routing Sheet: This option allows users to download a routing sheet in PDF format for the workflow selected in the Profile menu. Routing sheets are processed via the Routing Sheet stencil in a workflow. See Routing Sheet stencil for more information.
Download Document: Download the current document.
Actions: The action buttons that appear in the Toolbar allow you to take action on a document in a workflow. See Take action on a document for more information.
Document Panel
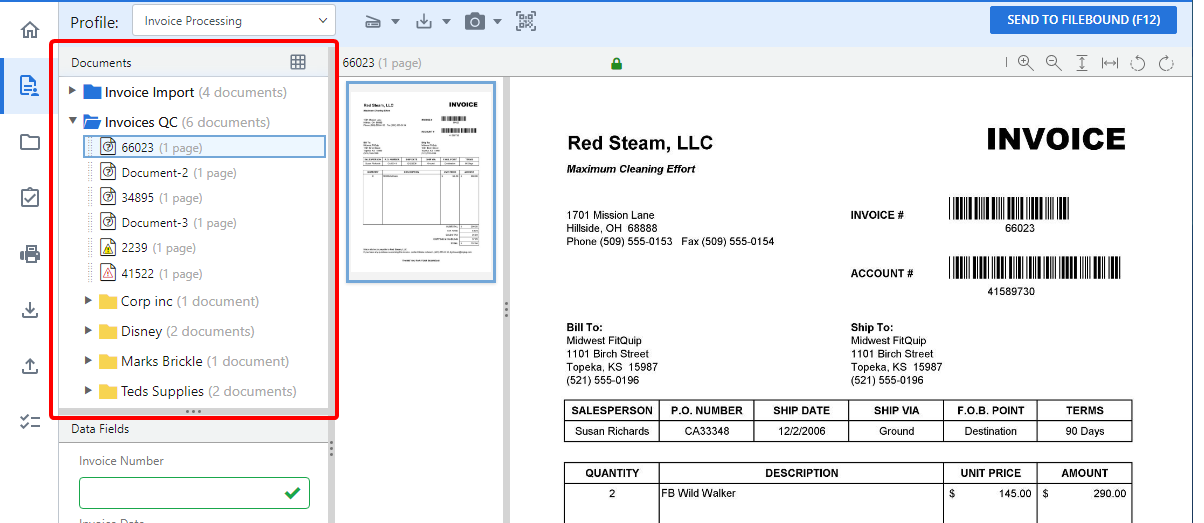
The Document Panel displays scanned or imported documents. Each folder in the Document Panel represents a step in the selected workflow route. The panel can be resized both vertically and horizontally to fit your needs. Simply move the pointer to the edge of the pane. When the pointer becomes a  , drag the pointer to make the pane the desired size.
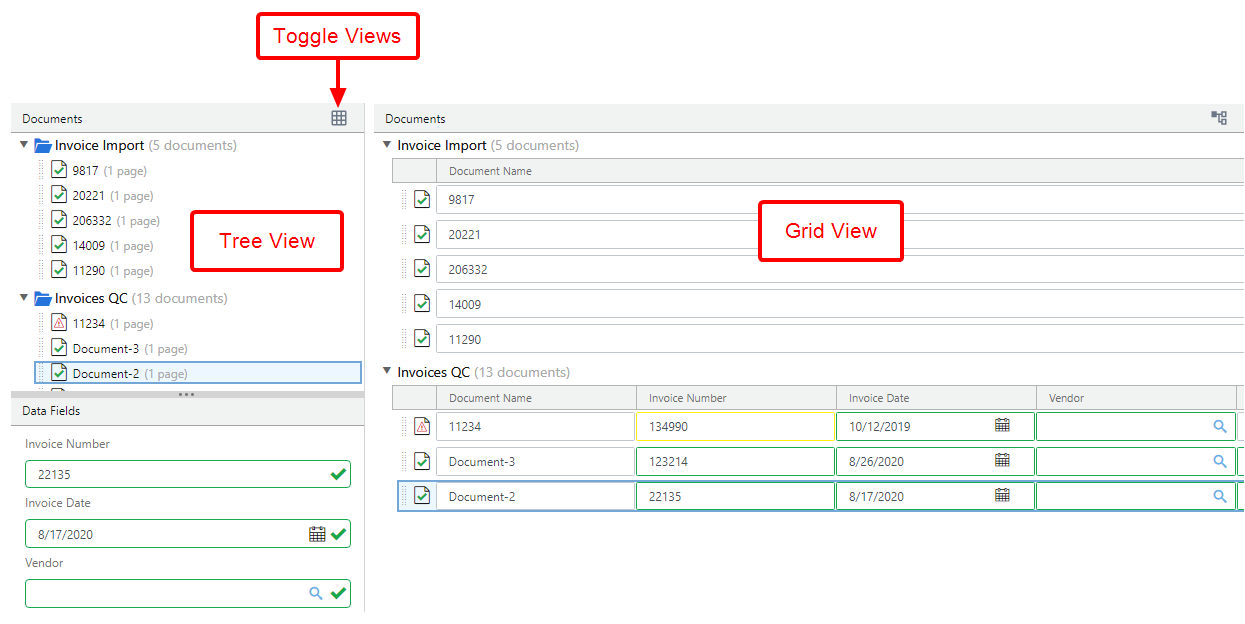
There are two different ways to view the Documents and Data Fields panels. Tree view shows all folders and documents in a hierarchical view and only data fields applicable to the selected document. Grid view shows all document names and data fields in an easy to edit, linear format.
Data Fields Panel
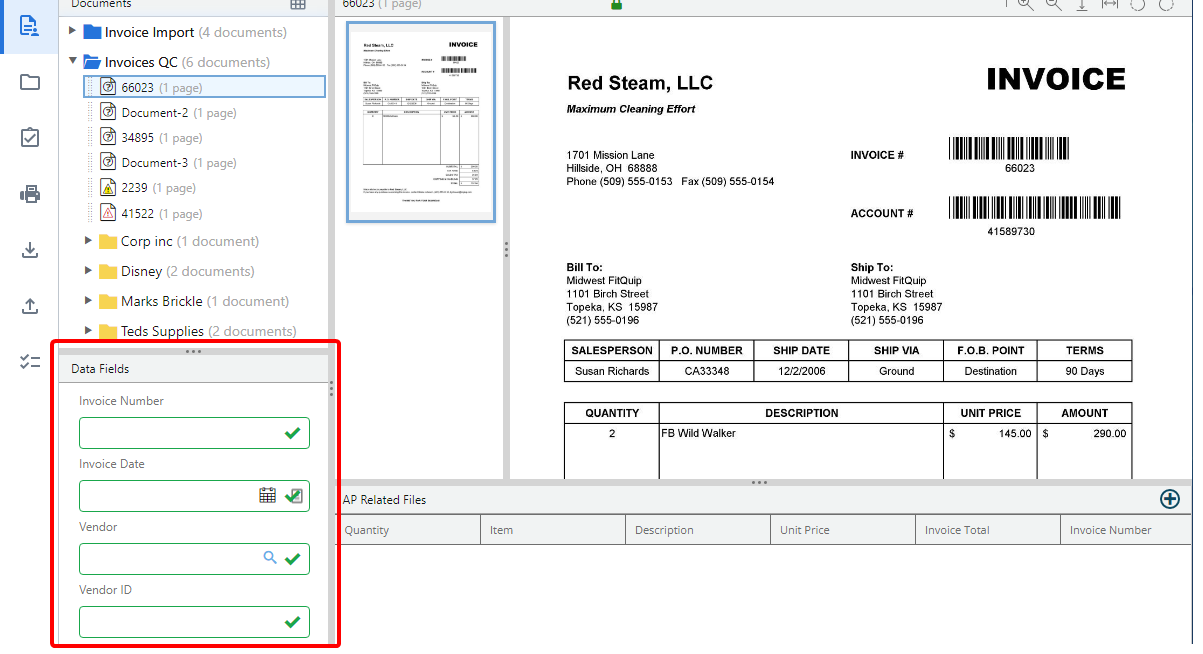
The Data Fields Panel displays all data fields associated with a workflow step. You can enter index information for documents in this pane. The panel can be resized both vertically and horizontally to fit your needs. Simply move the pointer to the edge of the pane. When the pointer becomes a , drag the pointer to make the pane the desired size.
Document Preview Window
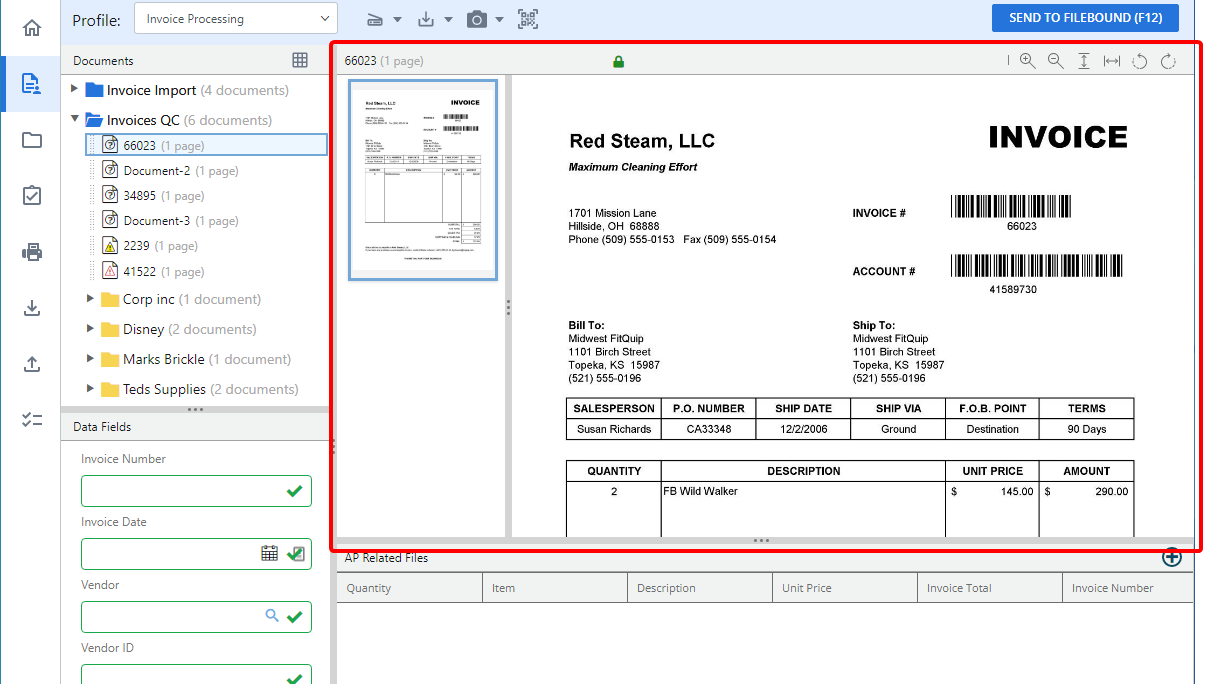
The Document Preview Window displays the documents you have scanned or imported into Intelligent Capture. On the left is the thumbnail view, which displays thumbnails of each page within the document. The right side displays a preview of the selected page.
The two sections of the window can be resized horizontally to fit your needs. Simply move the pointer to the line between the thumbnail view and the full size view. When the pointer becomes a , drag the pointer to make the pane the desired size.

The options on the toolbar in the Document Preview Window allow you to further customize your view. You can:
-
Zoom in: Make the page larger (Ctrl++ keyboard shortcut).
-
Zoom out : Make the page smaller (Ctrl+- keyboard shortcut).
-
Fit to height: Fit the page to the height of the Document Preview Window.
-
Fit to width: Fit the page to the width of the Document Preview Window.
-
Rotate Left: Rotate the page 90 degrees to the left. Page rotations are applied to the document permanently.
-
Rotate Right: Rotate the page 90 degrees to the right. Page rotations are applied to the document permanently.
If annotations are allowed for the selected workflow step, you will see an Annotations toolbar. See Annotations for more information.
Line Item Panel
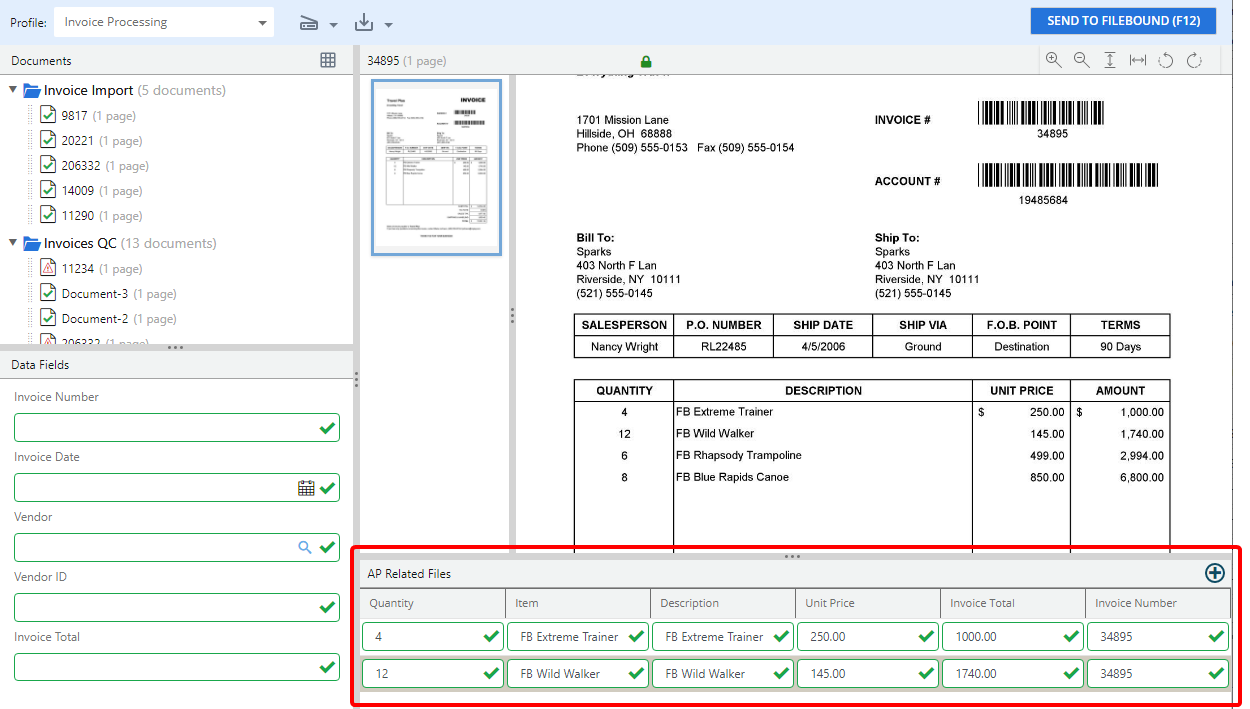
The Line Items Panel will appear when you have a line item type index field selected for the workflow step and allows you to enter line items applicable to the document. Line items values can be populated using manual or point and click indexing. Or, you can use a rubber band selection to add multiple line items at a single time.