This article details how to associate a Role with a Resource Group.
- From the Icon Bar click Setup
 .
. - From the Navigation Menu click Organization.
- From the available options select Groups.
- Upon the Groups list page displaying, click View and choose the required option.
- Click the name of the Group you wish to edit, to access the Group Edit page.
- Click the Roles tab.
- From available Roles tables, select the selection box(es) located to the left of the Role Name(s) that you wish to associate to the Group.
- Click the Add button.
Note: A Group associated to a Role as the Resource Group cannot be deleted.
- View the associated Role(s) in the Assigned Role table.
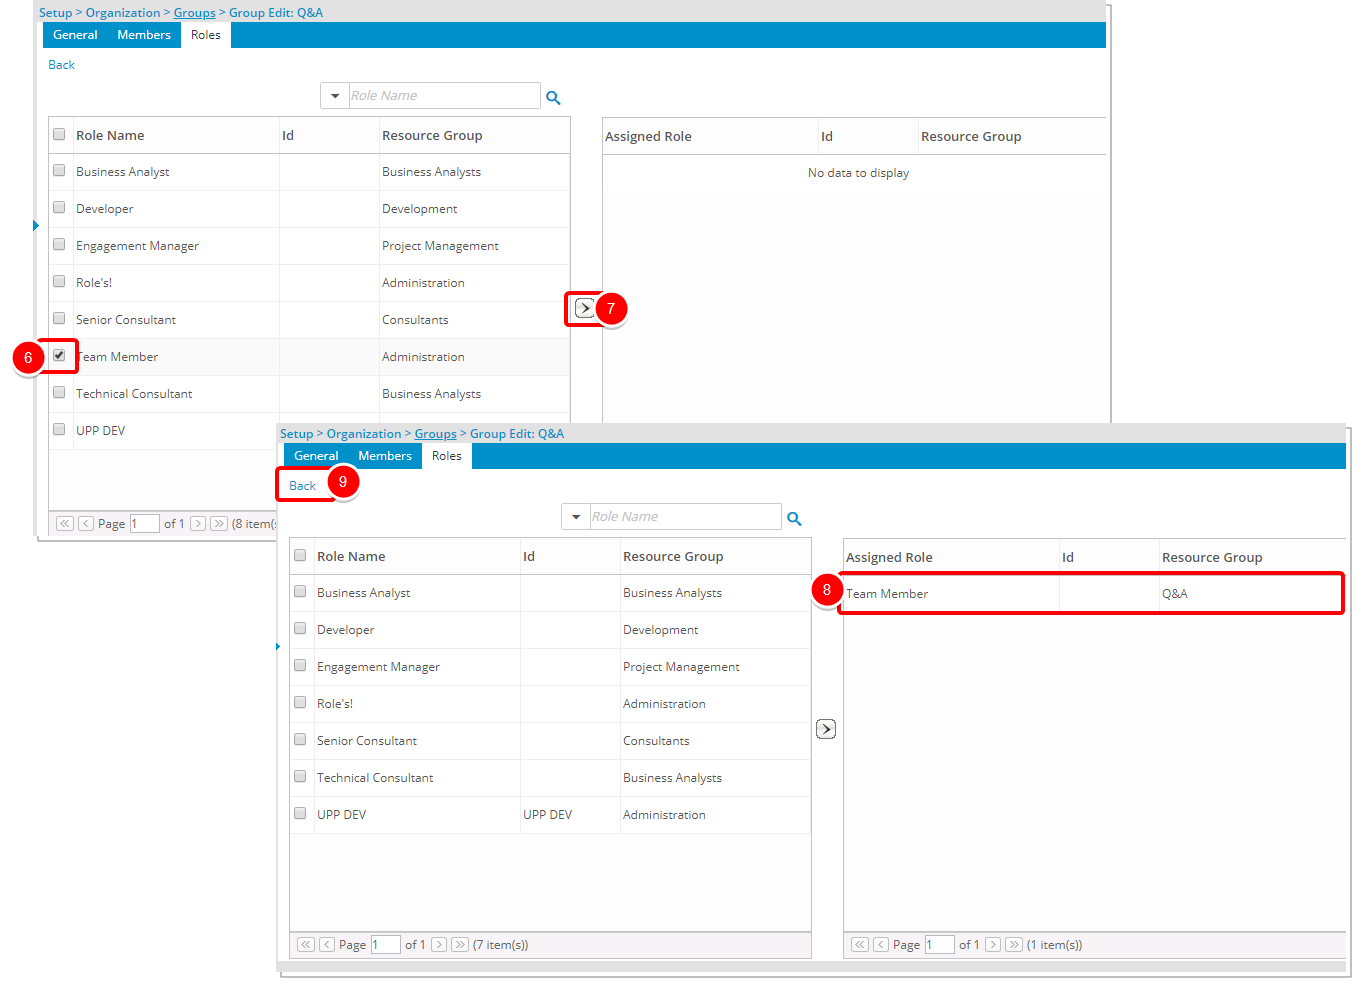
- Click Back to return to the previous page.