Users can be suspended, which means that they are no longer able to sign in. You can either manually Suspend a user or they could be suspended by the system after too many login failures.
This article covers manually suspending a User.
- From the Icon Bar click Setup
 .
. - From the Navigation Menu click Organization.
- From the available options select Users.
- Upon the Users list page displaying, click the name of the User you wish to edit, to access the User Edit page.
Tip: You may wish to narrow your Users list so that you retrieve just the right amount of information you need. To do so you can perform a search. Select a search criterion from the list of available search criteria and then enter a corresponding value in the Search box. Click the Search icon to narrow down the Users list. For more information on the contains-in logic search click here.
- Upon the Settings Details displaying, select Suspended from the Employment Status selection list.
- Click Save.
- From the Suspension/Decommission Confirmation dialog box click either:
- Continue link to delete all future bookings and allocations or
- Cancel link to keep the existing bookings and allocations intact and still proceed to suspend the User.
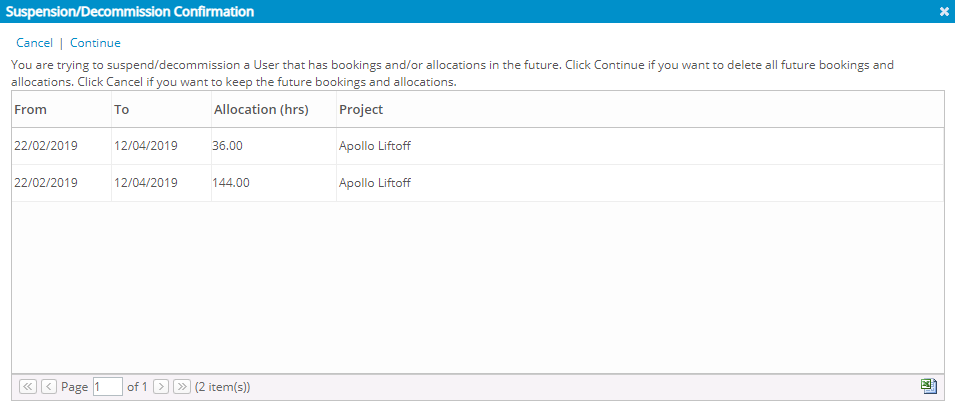
Tip: Click the Export to Excel button if you wish to save a list of associated Bookings and Allocations in Excel format for future reference.
- Click Back to return to the previous page.
View the Suspended User
Navigate to the Users list page and view the suspended User.
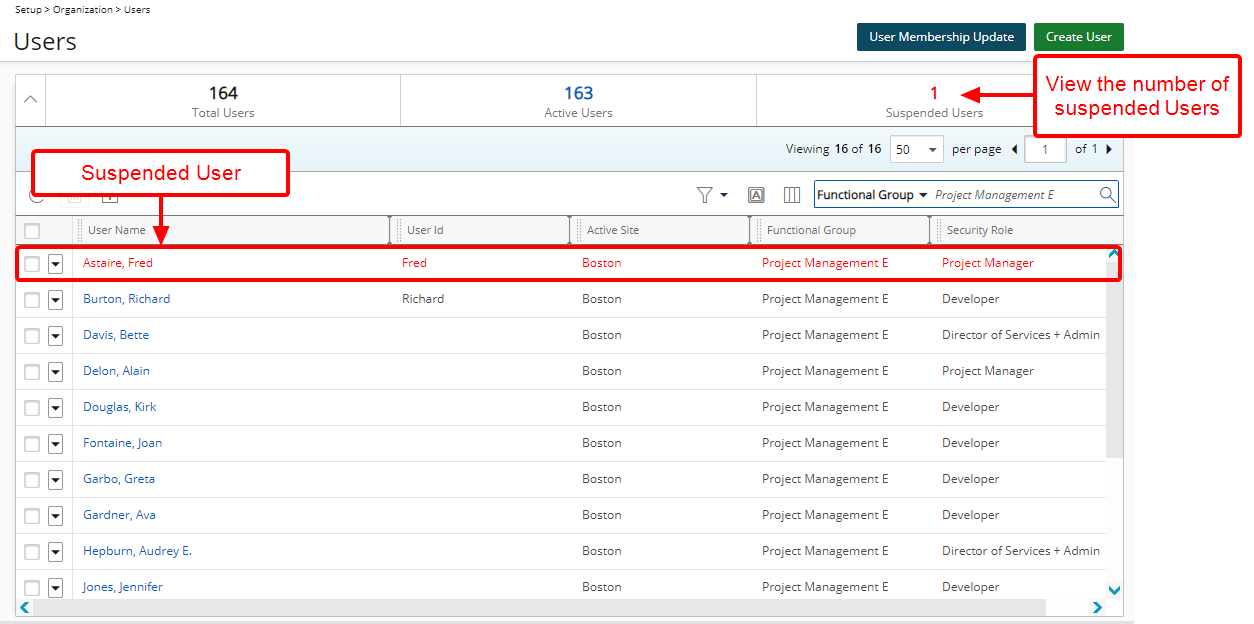
Note: Suspended users are flagged as such on the Users list page (Setup > Organization > Users) and appear in red font.