When a User, who has had access to PSA, leaves an organization, decommissioning them in the system gives you the option to be able to re-activate them in the future if needed.
Reactivating a previously decommissioned User consequently initializes unwanted Timesheets and Timesheet Notifications for the period that they were not active in the organization, specifically from the time they were decommissioned to the time they are re-activated. As these Timesheets and Notifications are unnecessary, adding the User in the Timesheet Exempt List for this time gap in their service to the organization will remove the need for them to make Time Entries during this period.
This article details how to re-activate a Decommissioned User and how to add them to the Exempt list.
- From the Icon Bar click Setup
 .
. - From the Navigation Menu click Organization.
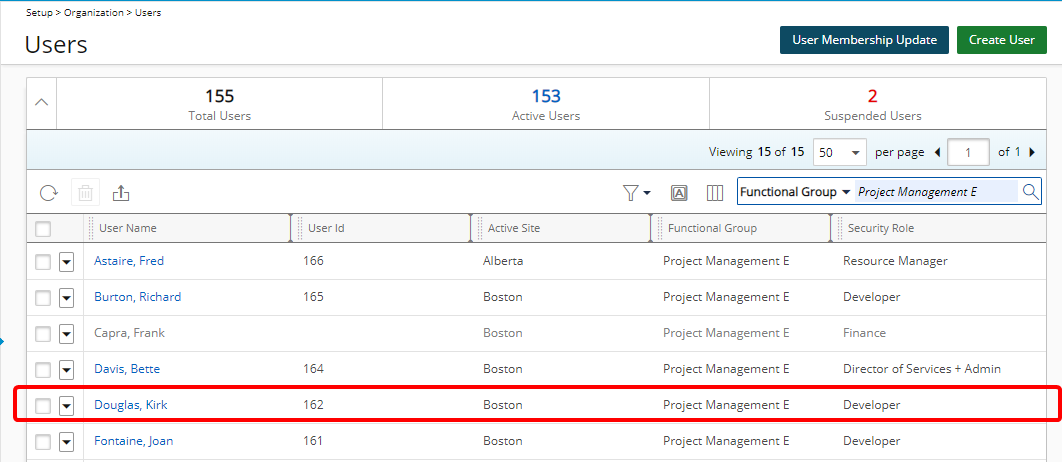
- From the available options select Users.
- Upon the Users list page displaying, click the Filter
 button.
 - From the available options select the Decommissioned selection box.
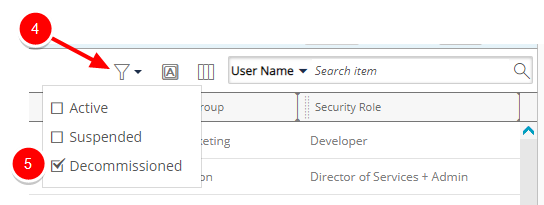
- The Users list page will be refreshed to show only the Decommissioned User(s).
Note: Decommissioned User(s) appear in a gray font.
Tip: You may wish to narrow your Users list so that you retrieve just the right amount of information you need. To do so you can perform a search. Select a search criterion from the list of available search criteria and then enter a corresponding value in the Search box. Click the Search icon to narrow down the Users list. For more information on the contains-in logic search click here.
- Click the Decommissioned User's name to access the User Edit page.
- Upon the Settings Details displaying, select Active from the Employment Status selection list.
- Click Save.
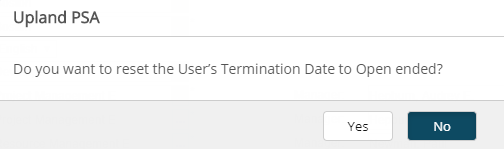
- Upon the confirmation box appearing, click Yes to reset the User's Termination Date to Open ended.
- To add User to Exempt list:
- Click the Calendar button against the Decommission Date and set it to the Termination Date noted in step 3.
Note: For Users decommissioned prior to 2019 R1 SP6 release, the Decommission Date will default to Open Ended. For Users decommissioned after the 2019 R1 SP6 release, the Decommission Date will default to the Termination Date.
- Click the Calendar button against the Reactivation Date to choose the reactivation date and to set the period that the user was not active in the organization.
- Click Save & Close.

Note:
- Clicking Save & Close will add the User to the Timesheet Exempt list.
- Clicking Back will keep the User off the Timesheet Exempt list.
- From the Suspension/Decommission Confirmation dialog box click either:
- Continue link to delete all future bookings and allocations or
- Cancel link to keep the existing bookings and allocations intact and still proceed to decommission the user.
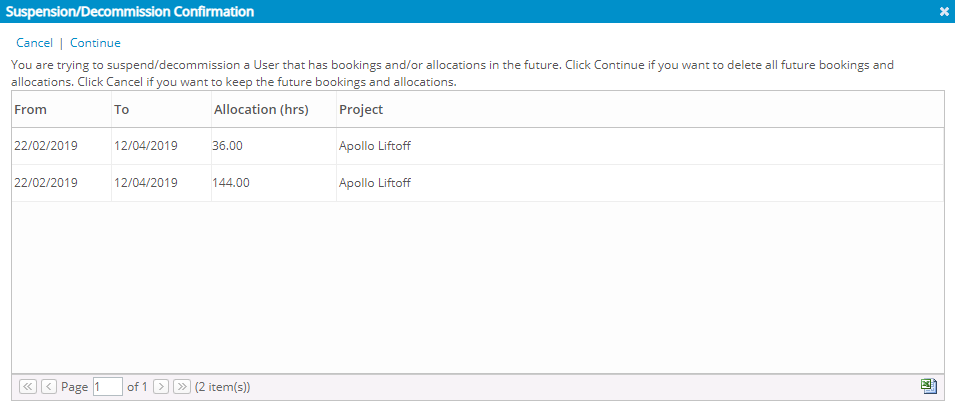
Tip: Click the Export to Excel button if you wish to save a list of associated Bookings and Allocations in Excel format for future reference.
View the Reactivated User
Navigate to the Users list (Setup > Organization > Users) page and view the User. For more information on Accessing the Users list page click here.
Note: Upon Decommissioning a User and setting the Termination Date to open ended, existing Time Entries after the decommission date will not be deleted. Upon reactivating the User, Notifications will be sent for those time entries.
View the Exempt List
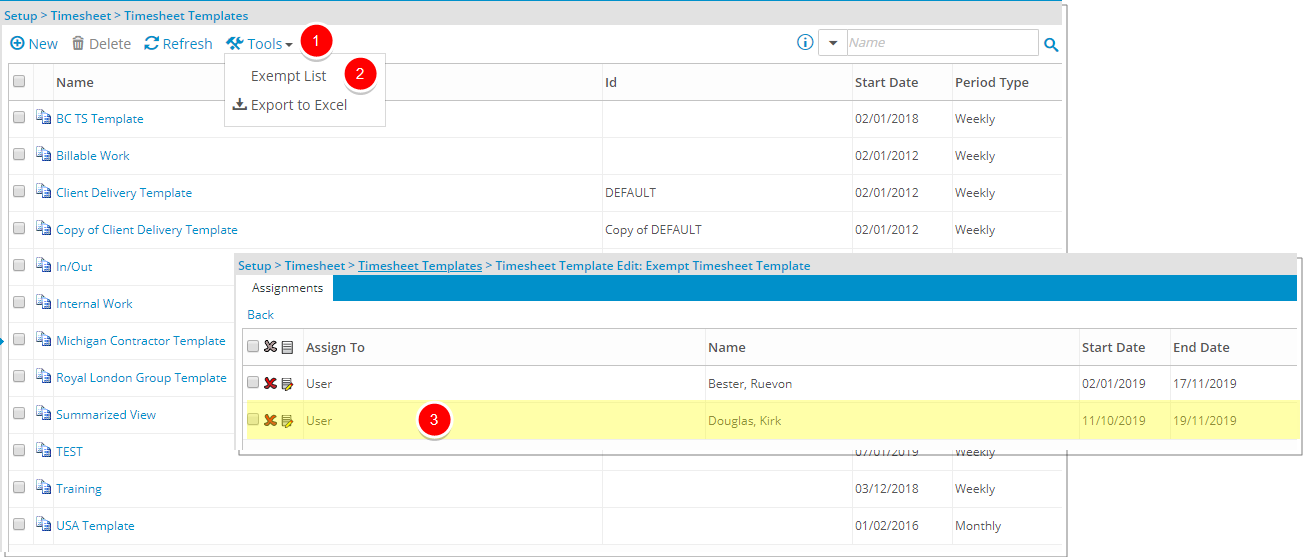
Navigate to the Timesheet Templates list page (Setup > Timesheet > Timesheet Templates). For more information on Accessing the Timesheet Templates list page click here.
- Click Tools to access the context menu.
- Select Exempt List.
- Upon the Exempt Timesheet Template page appearing, view the user listed and note the Start and End Dates.