Associate a Title with a User
From the Title History page you can associate a Title to a User.
This article covers how to associate a new Title to a User.
- From the Icon Bar click Setup
 .
. - From the Navigation Menu click Organization.
- From the available options select Users.
- Upon the Users list page displaying, click the name of the User you wish to edit, to access the User Edit page.
Tip: You may wish to narrow your Users list so that you retrieve just the right amount of information you need. To do so you can perform a search. Select a search criterion from the list of available search criteria and then enter a corresponding value in the Search box. Click the Search icon to narrow down the Users list. For more information on the contains-in logic search click here.
- From the General sub-tab of the User Settings page, click the Title ellipsis button.
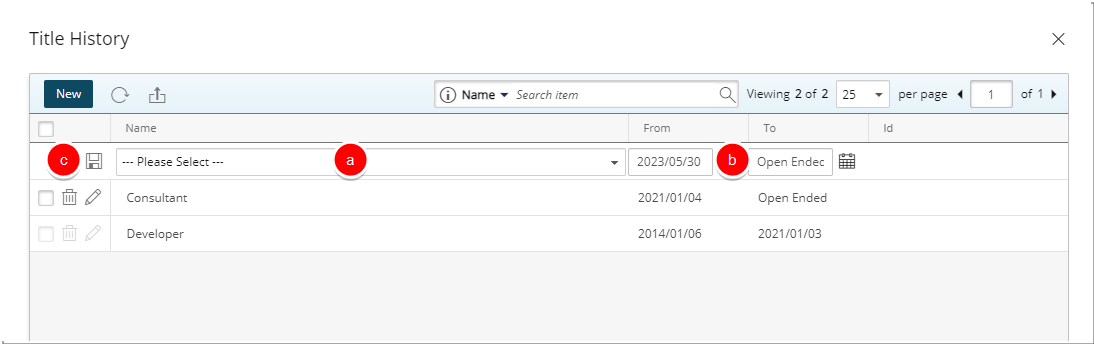
- Upon the User's Title History page displaying, click New.
- Upon clicking the New button a new Line will be added to the list with inline editing enabled.
- Choose a Title from the available list of Titles.
- Click the Date button and select a date.
- Click Save.
Note:
- A newly created user will have a default associated title 'From' user’s hire date 'To' Open Ended and when associating a new Title to a user, Dates are set by default 'From'= Today's date and 'To' = Open ended.
- No date gaps or overlaps are allowed between User Titles.
- Click Back to return to the previous page.